Deploying a Workload#
This chapter will take you through the deployment process of the available workloads: CODESYS workloads, Virtual Machine workloads and Docker workloads. The process of deploying workloads is identical for all three types of workloads. Therefore, the instructions below contain no specific information.
Note
This chapter guides you through deploying a workload. If you want to test a deployment first, select Deploy > Dry run in the left-hand menu and follow the steps below starting from step 3.
However, please note that a successful dry run does not guarantee a successful deployment as it is only a simulation.
-
Select Deploy in the left-hand menu.
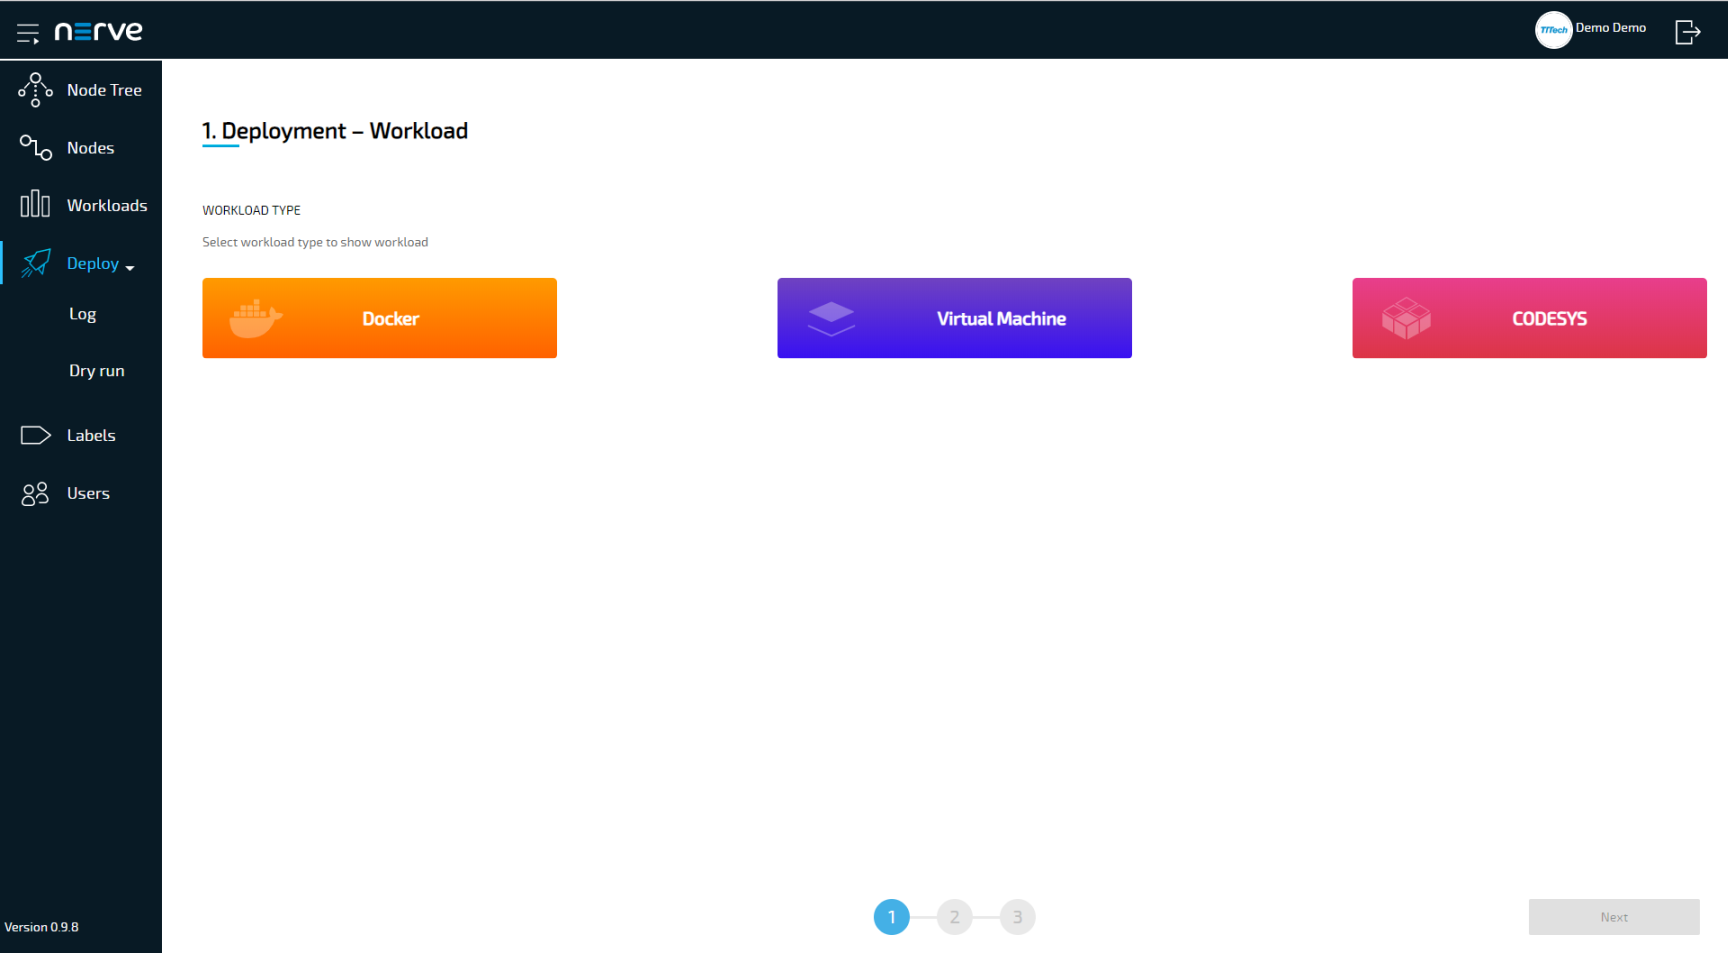
-
Select one of the three icons for workload types. A list of corresponding workloads will appear below.
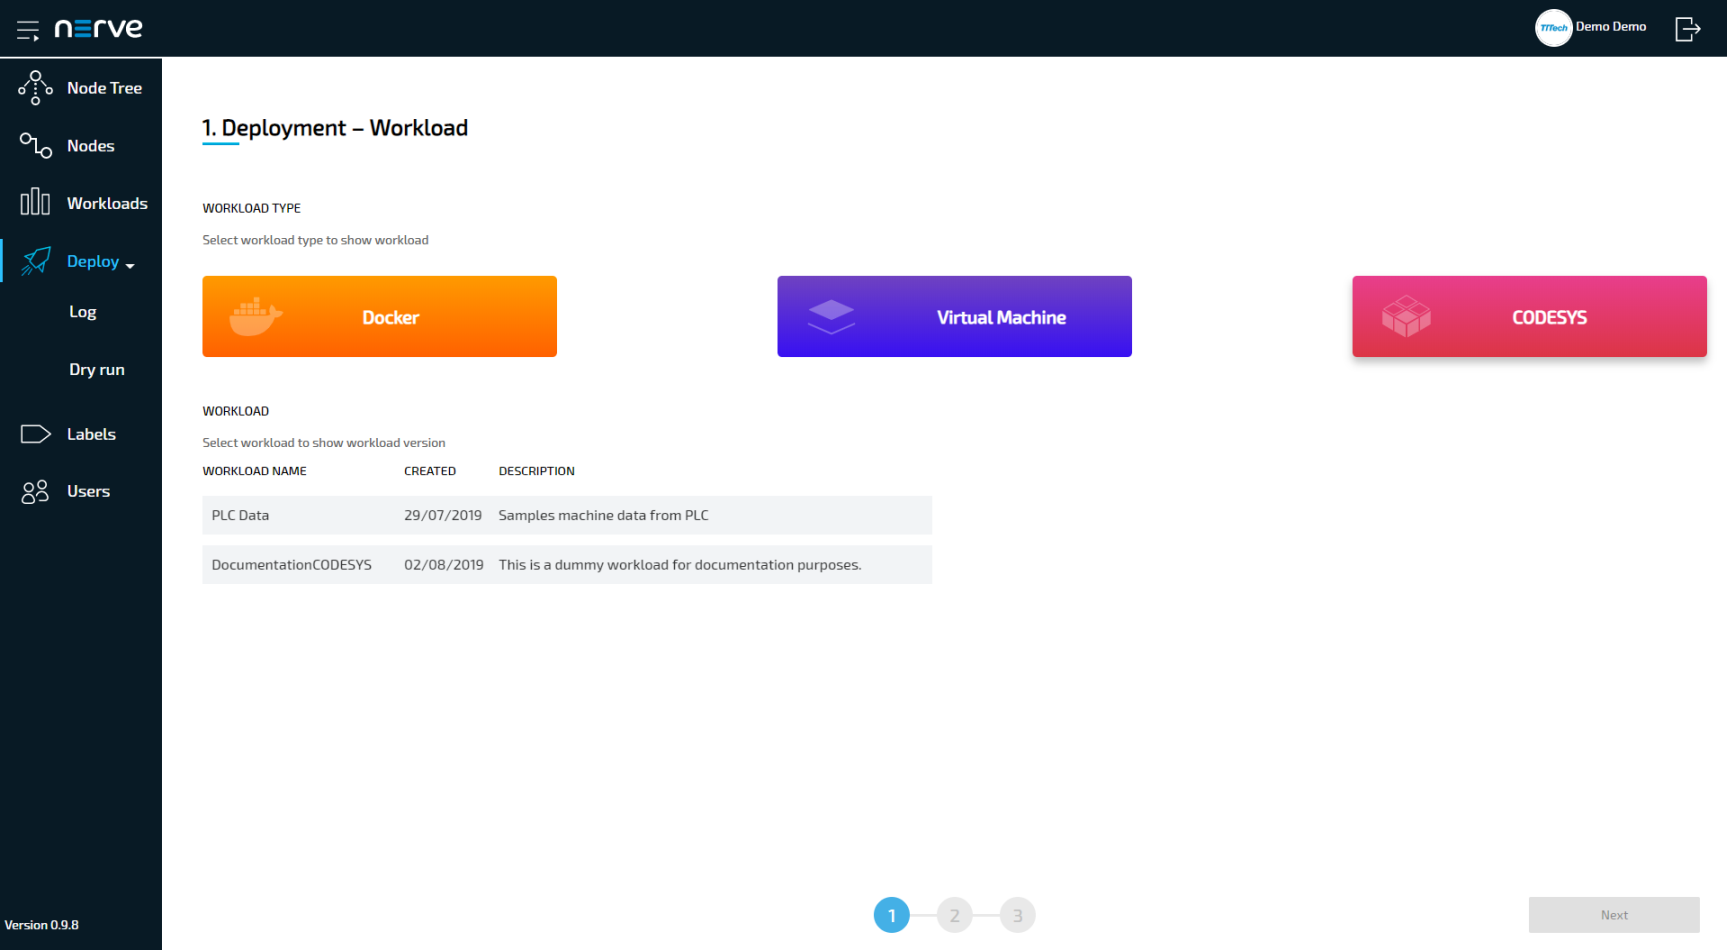
-
Select a workload from the list. A list of versions of this workload will appear to the right.
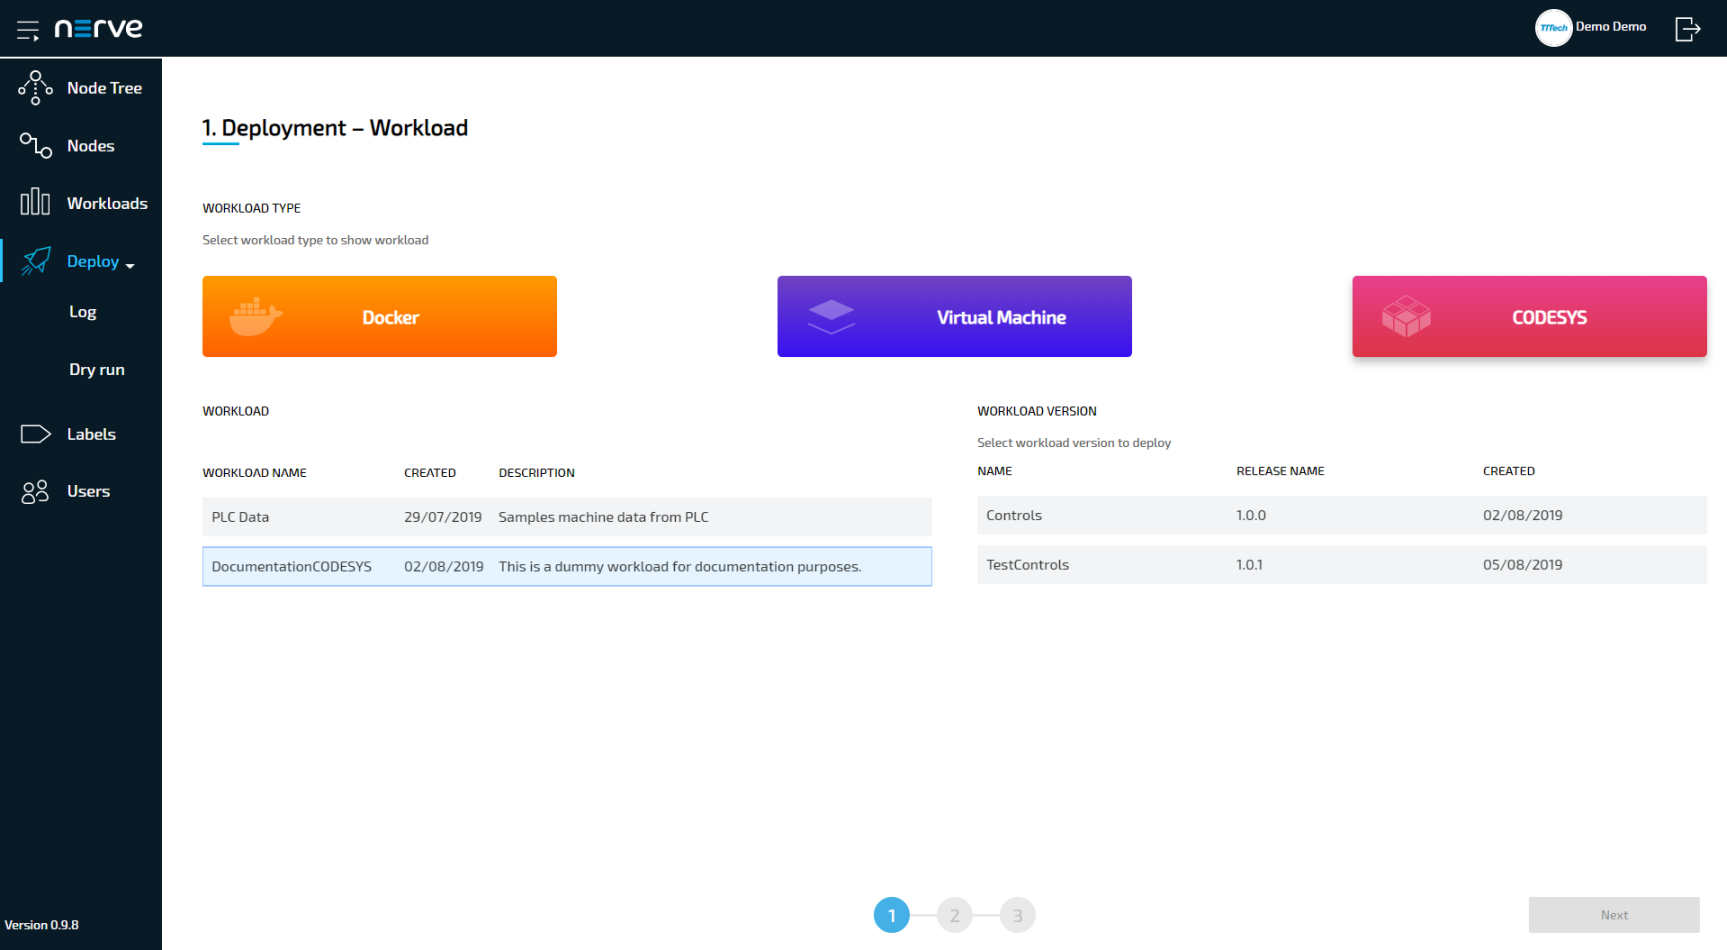
-
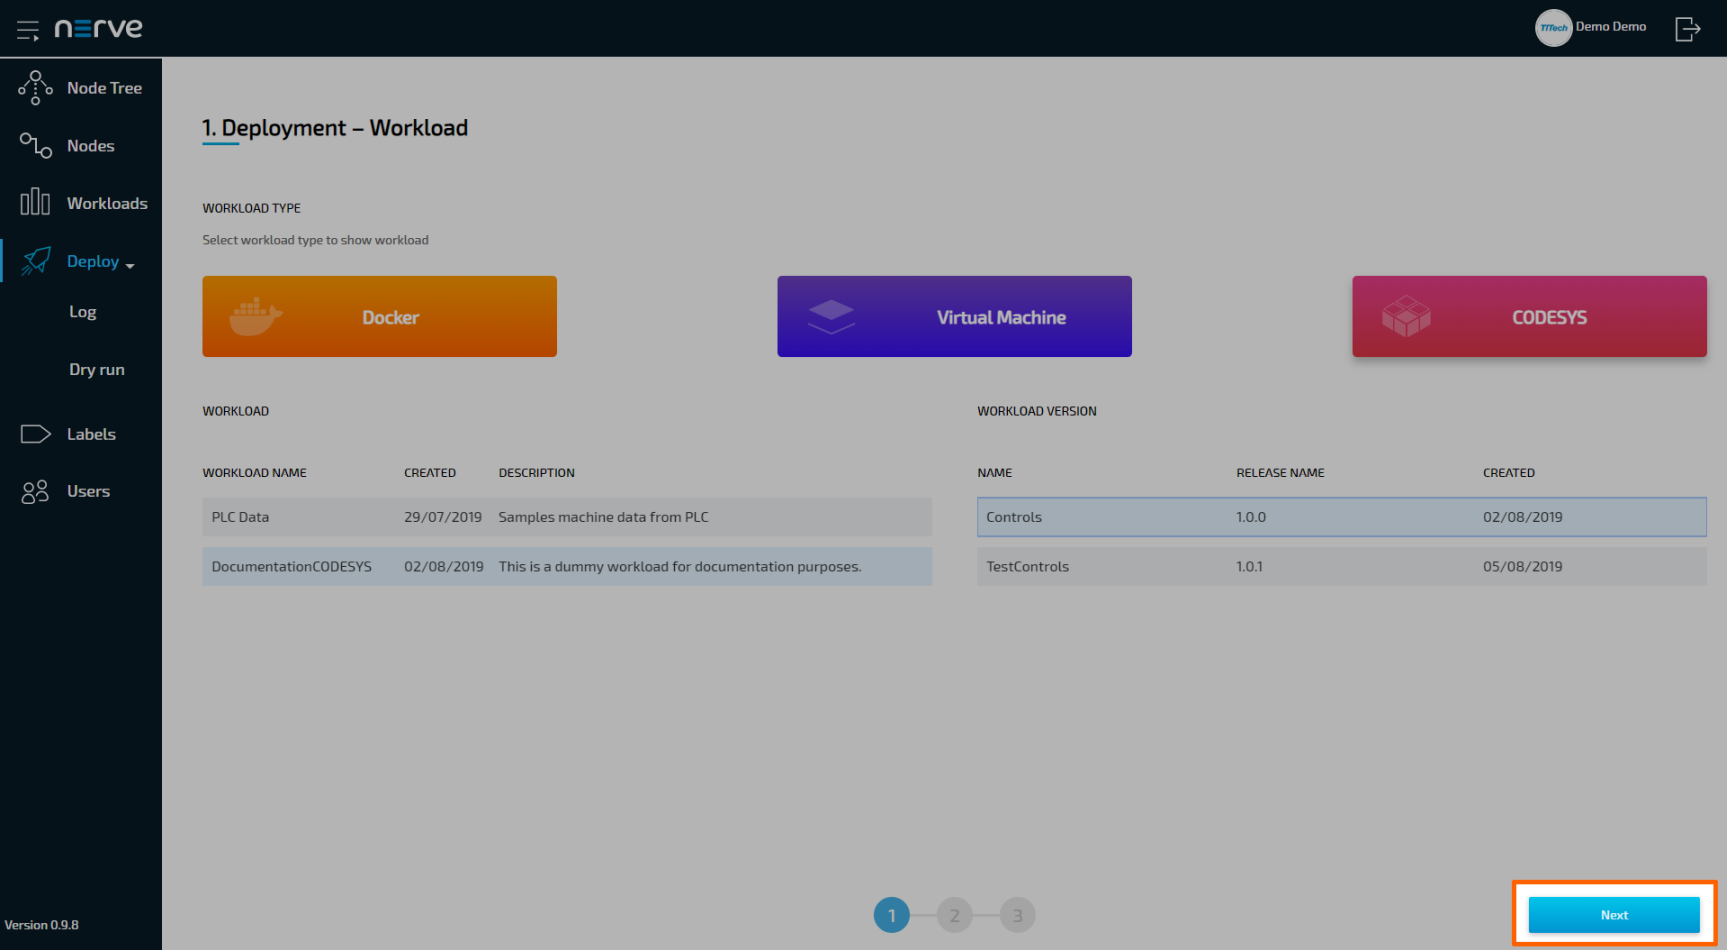
Select the version of the workload you would like to deploy.
-
Click Next in the bottom-right corner.
-
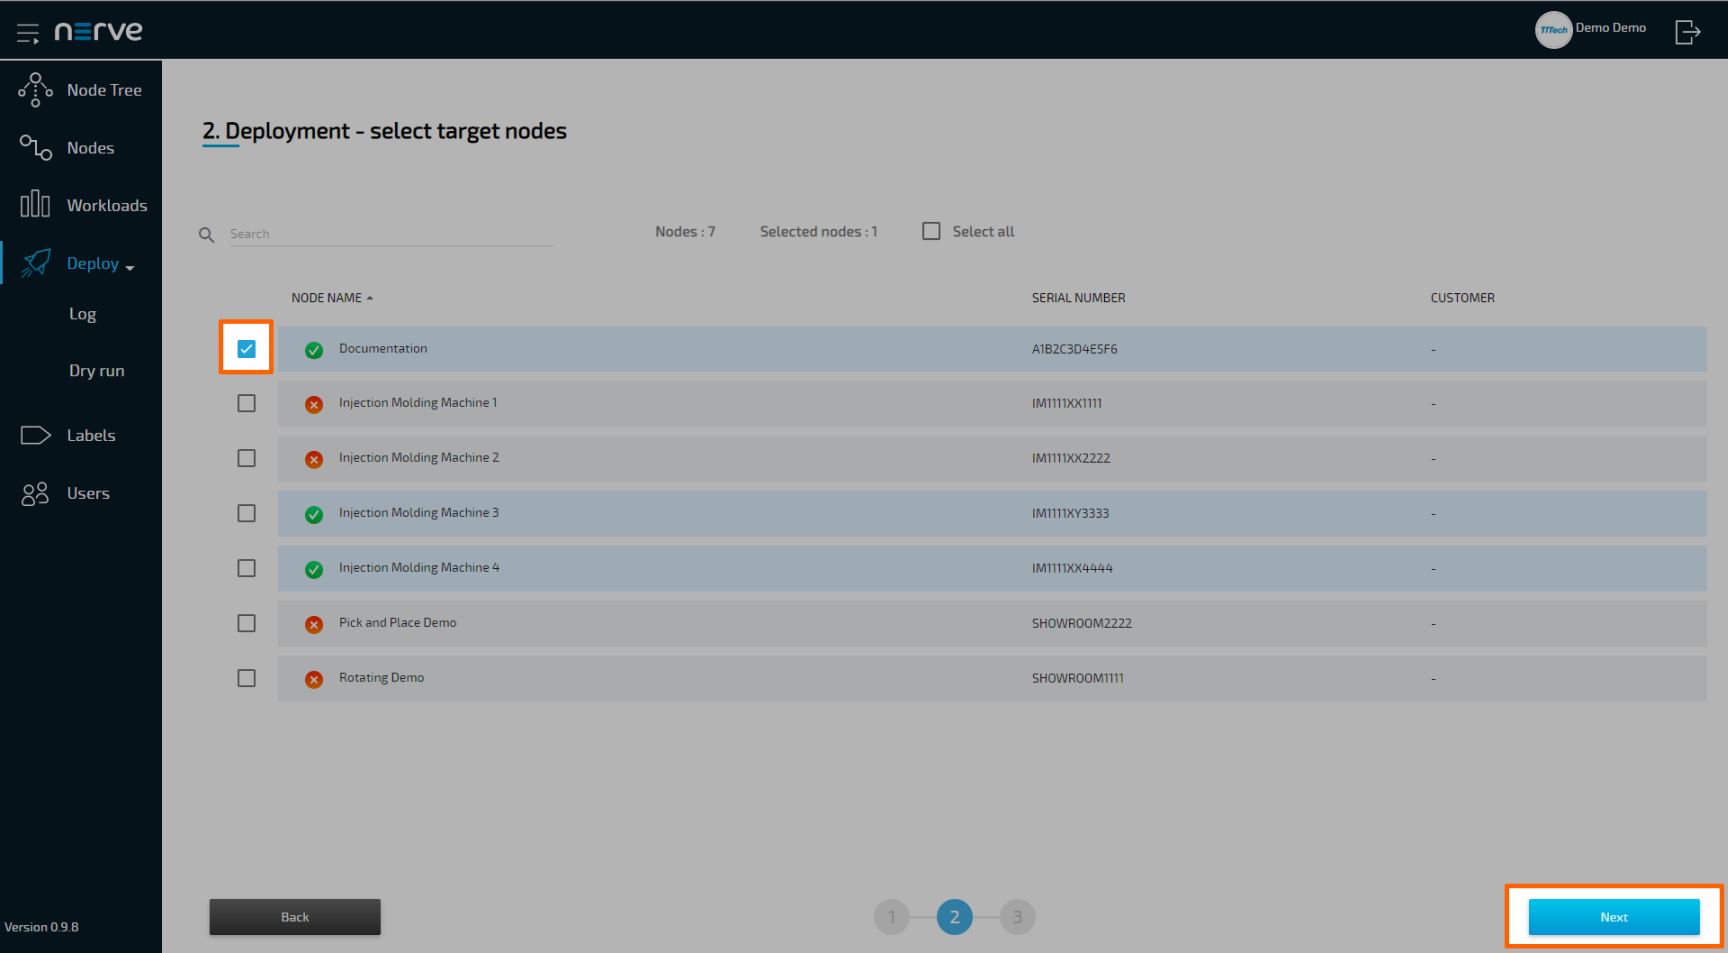
In the next window, select one or more nodes from the list for deployment by ticking the checkboxes on the left.
Note
This list of nodes is automatically filtered depending on the labels the workload has. So this list of nodes might not include all nodes that are registered in the Management System.
-
Select Next in the lower-right corner.
-
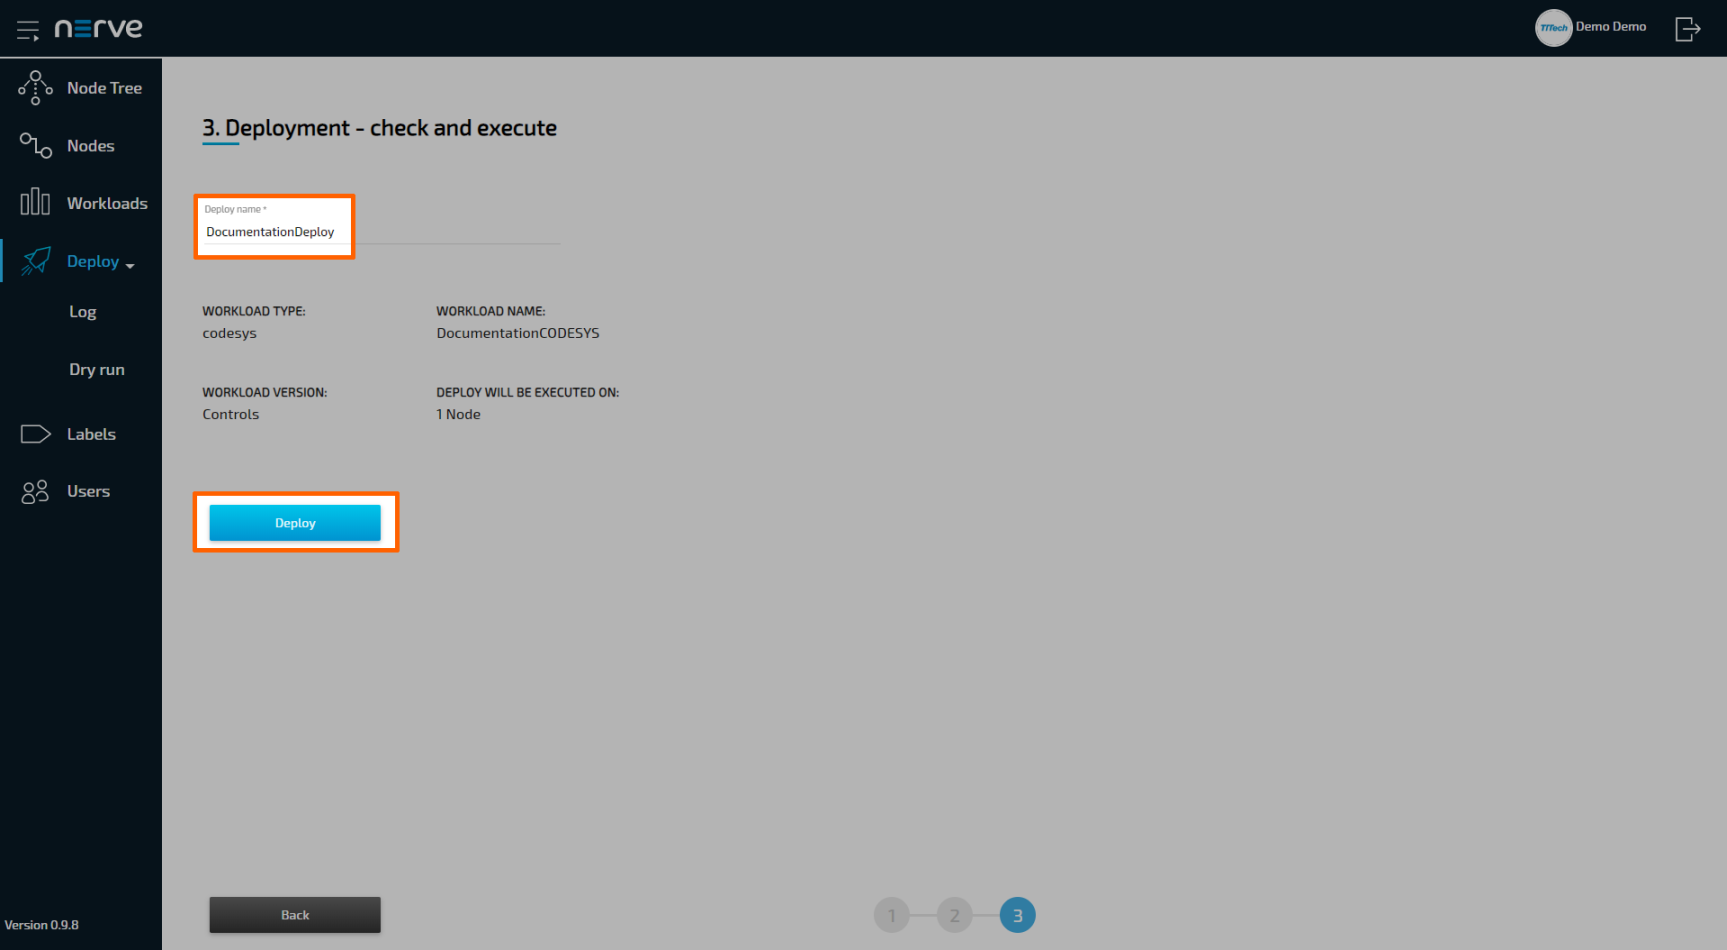
In the next window, enter a Deploy name above the Summary of the workload. Choose a name that makes this deployment easy to identify.
Note
You can only use alphanumeric characters (
a-z,A-Z,0-9) and underscore (_). Any other special characters are not allowed. If you use a character that is not allowed, the deploy button will be grayed out. -
Select Deploy to execute the deployment.
You will be taken to the log next. Your current deployment is at the top of the list. The Deploy name you have chosen before is the name that identifies the deployment in the log.
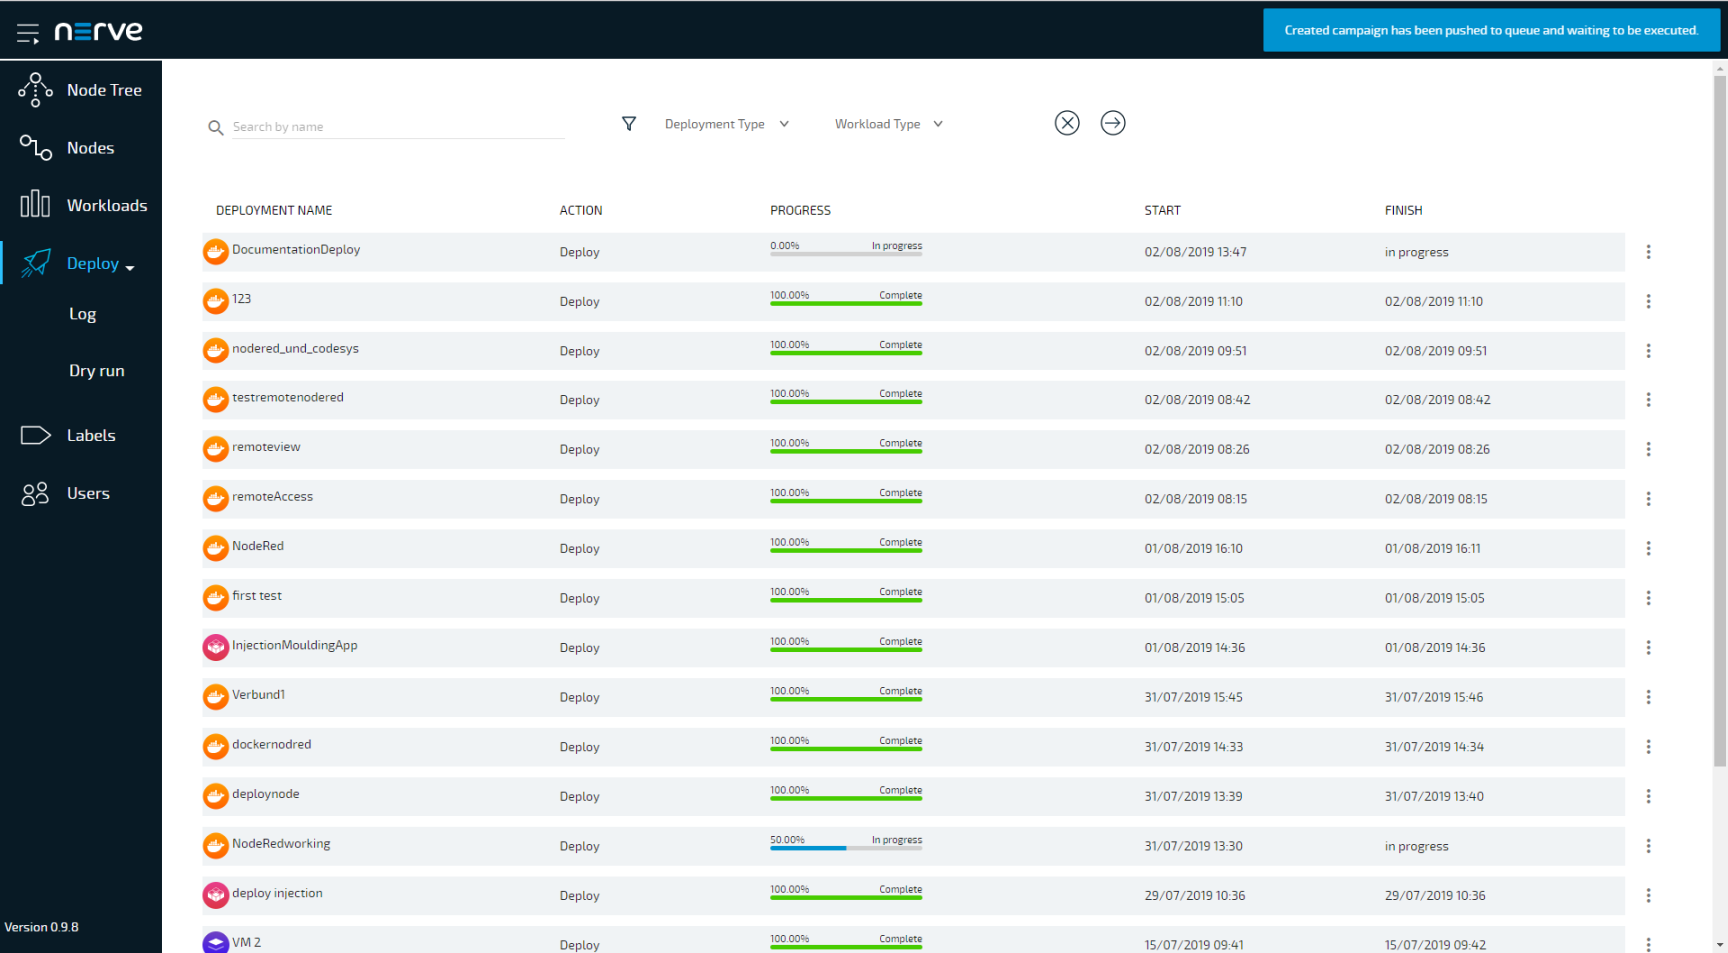
You can see the progress of the current deployment and click the log entry of the deployment to see a more detailed view.

The workload has been deployed and can be controlled in the Node Tree. Select Node Tree in the menu on the left and select the node you have deployed a workload to.
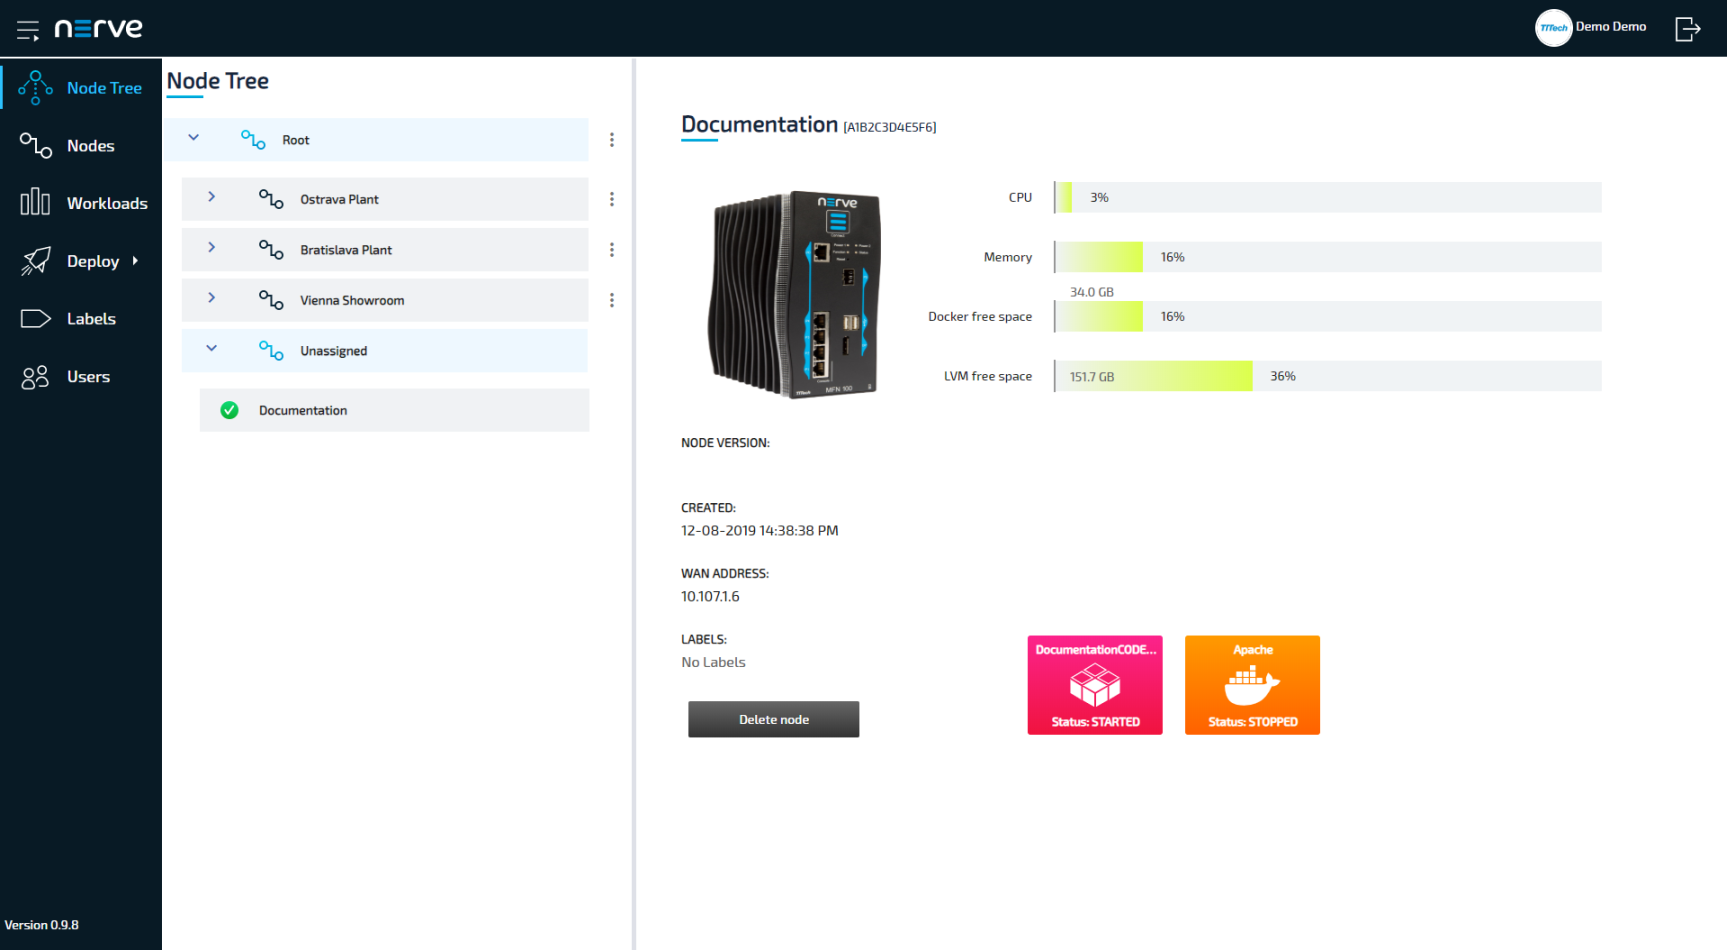
You can control the workloads by clicking the tile of each workload. All workloads are started as soon as they are deployed.
Note
CODESYS applications can only be controlled through the local UI.