Nerve Data Services Database
Every node has a local NerveDB database pre-configured. The local NerveDB is also the database that should be used if local database storage is required. In the Management System, databases are discerned by the serial numbers of the nodes and can be used to confirm the flow of data. Select the arrow next to Data in the navigation on the left in both the Local UI and the Management System and select Database to reach the database menu. The database menu can be used to preview data collected in the NerveDB of a node.
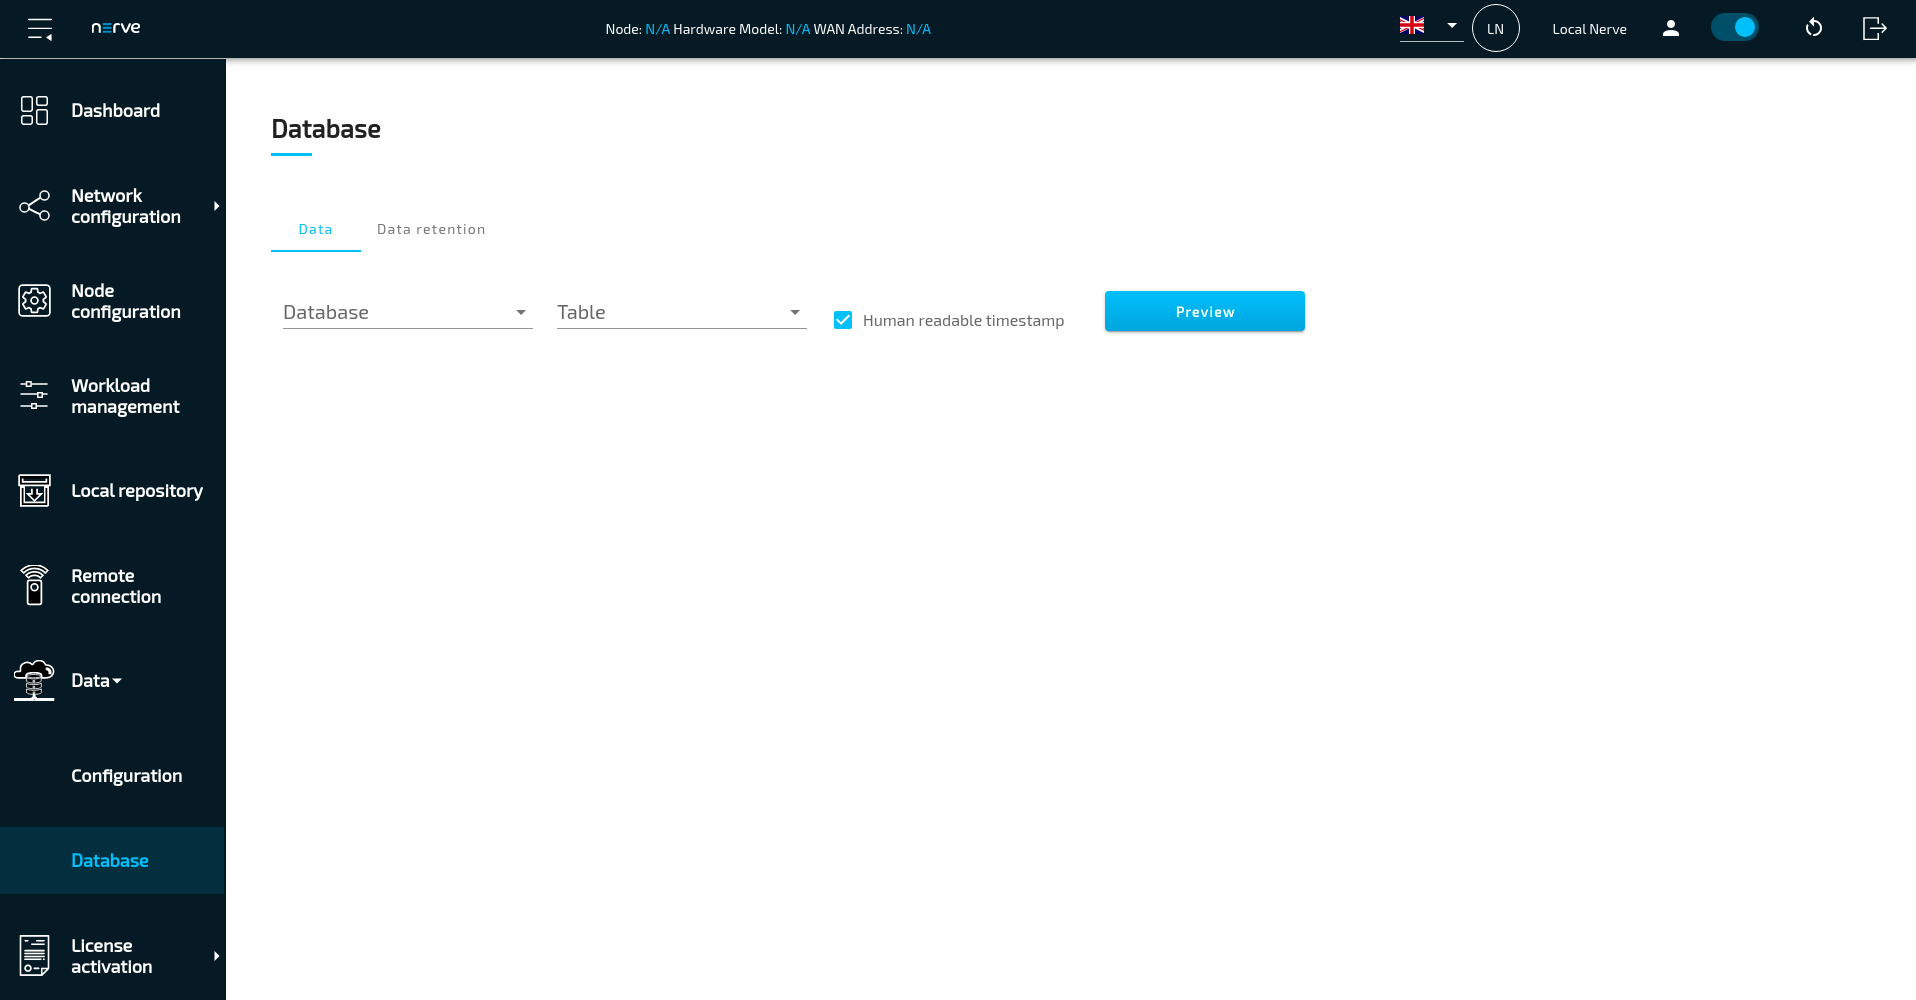
The Data tab is the first active tab when selecting the database menu in the navigation.
| Item | Description |
|---|---|
| Database | Select a database from the drop-down menu. In the Local UI this will only contain the default database nerve_localdb. In the Management System, this will contain a list of the serial numbers of all registered nodes. |
| Table | Select a table containing data from the drop-down menu. The selection here depends on the configuration of the Gateway. Data needs to be written to nerve_localdb for something to be listed here. |
| Human readable timestamp | Tick the checkbox here to add a timestamp to the data preview of the data contained in the database. |
| Preview | Select this to show a preview of data. The data shown depends on the selections in the Database and Table drop-down menus. |
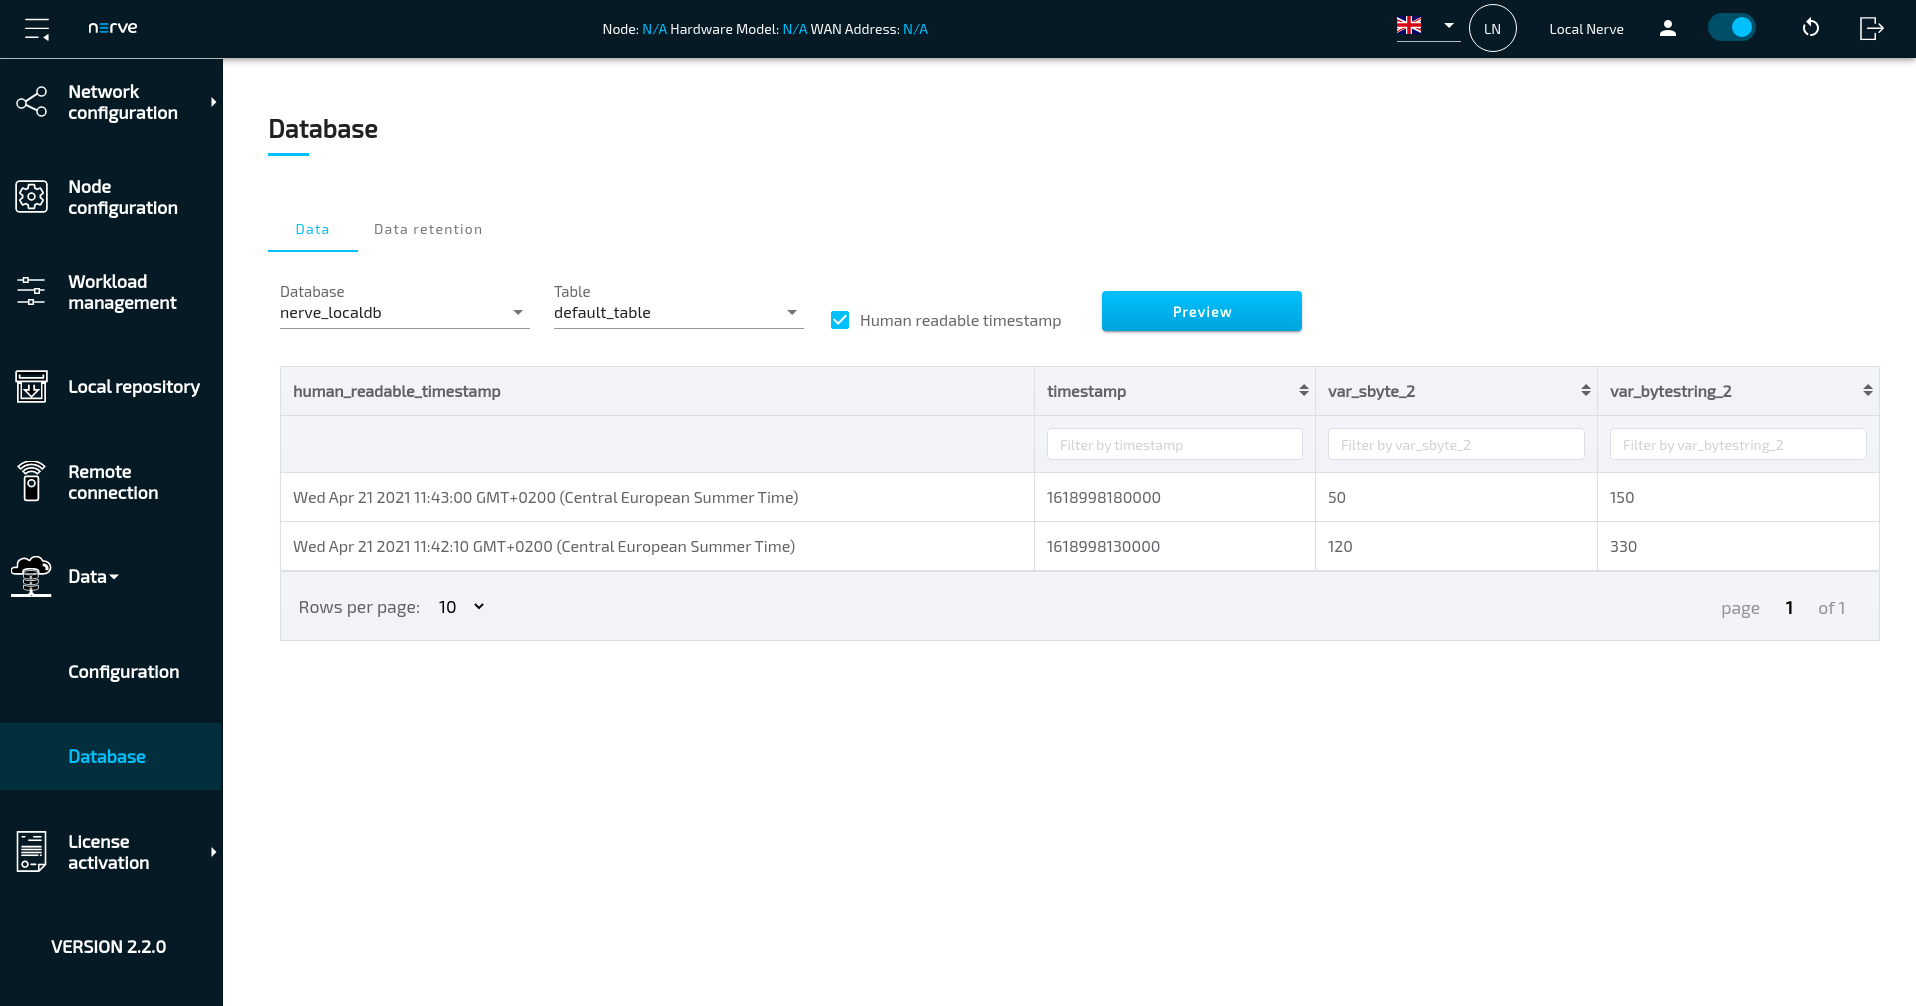
Here is an example of a data preview.
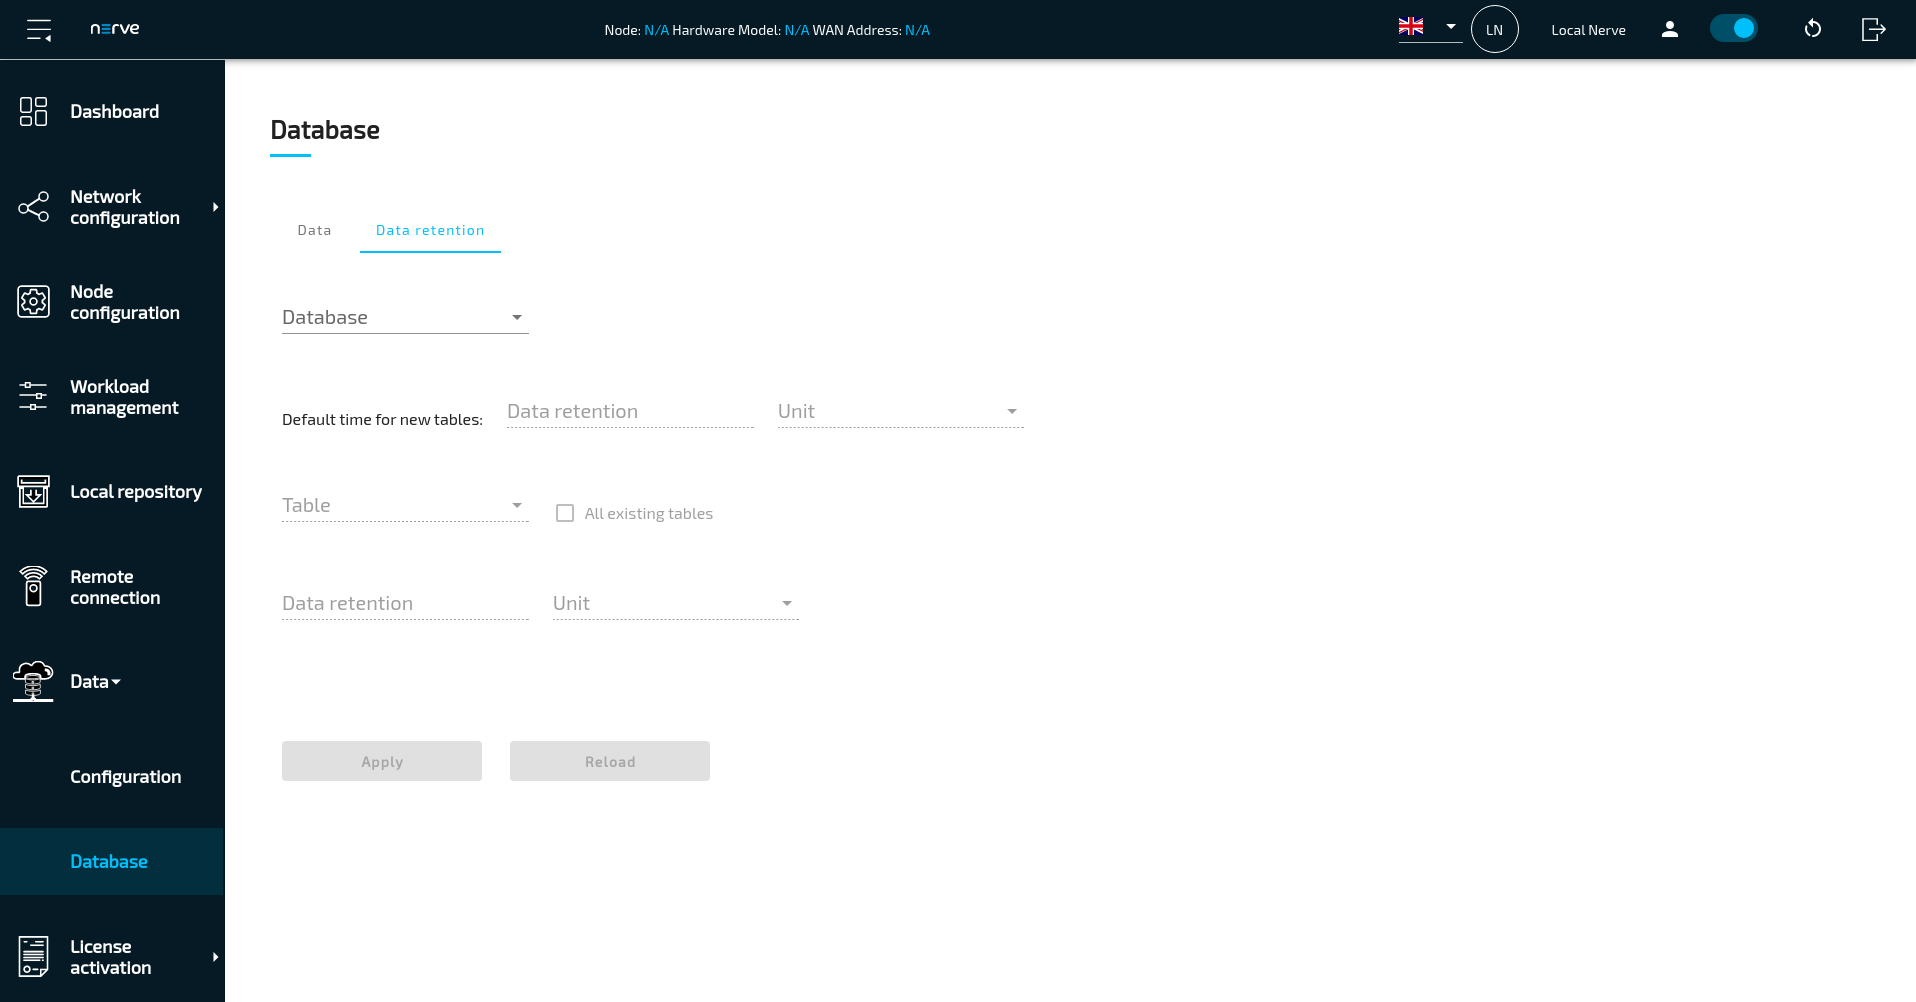
Data retention tab
Due to limitation in storage, a data retention policy is in place to delete old data after a certain amount of time. The default time is one day. Select the Data retention tab for settings. Refer to the table below for more information on the settings.
| Item | Description |
|---|---|
| Database | Select a database from the drop-down menu. In the Local UI this will only contain the default database nerve_localdb. In the Management System, this will contain a list of the serial numbers of all registered nodes. |
| Default time for new tables | Set the data retention time for new tables here. Times can be set in minutes, hours and days. When setting the data retention parameters for the first time, the default value of 1 day is filled in automatically. This default value is also automatically applied to existing tables when the retention time is initially set. After that, this value applies to tables added in the future when the Gateway configuration is changed. |
| Table | Select a table from the drop-down menu to configure its data retention time. The drop-down menu contains table names defined in the Gateway configuration if data has been written into the database that was selected above. |
| All existing tables | Tick this checkbox to apply the data retention time to all tables in the drop-down menu. |
| Data retention | Set the data retention time for the selected tables here. Times can be set in minutes, hours and days. |
| Apply | Use this button to save the configuration. |
| Reload | Use this button to load the current settings of the selected tables into the UI. |
Setting data retention time
The following example shows a possible way of setting different data retention settings for different tables in a database.
- Apply a Gateway configuration.
- Select Data > Database in the navigation on the left.
- Select the Data retention tab.
-
Select a database from the drop-down menu.

Note
The drop-down menu is labelled Database in the Local UI and contains the nerve_localdb database
In the Management System, this drop-down menu is labelled Nodes and contains the serial numbers of all registered nodes. -
Set the Default time for new tables to the desired value.
Note
When setting the data retention parameters for the first time, the default value of 1 day is filled in automatically. This default value is also automatically applied to the currently existing tables. After that, this value applies to tables added in the future when the Gateway configuration is changed.
Example: If the value is changed from 1 day to 2 days, newly defined tables that are added with the next Gateway configuration will have a data retention time of 2 days while the existing tables remain at a data retention time of 1 day. Change this value to a desired value for future tables. The retention time of the existing tables is configured below. -
Select a table from the drop-down menu or tick the checkbox next to All existing tables.
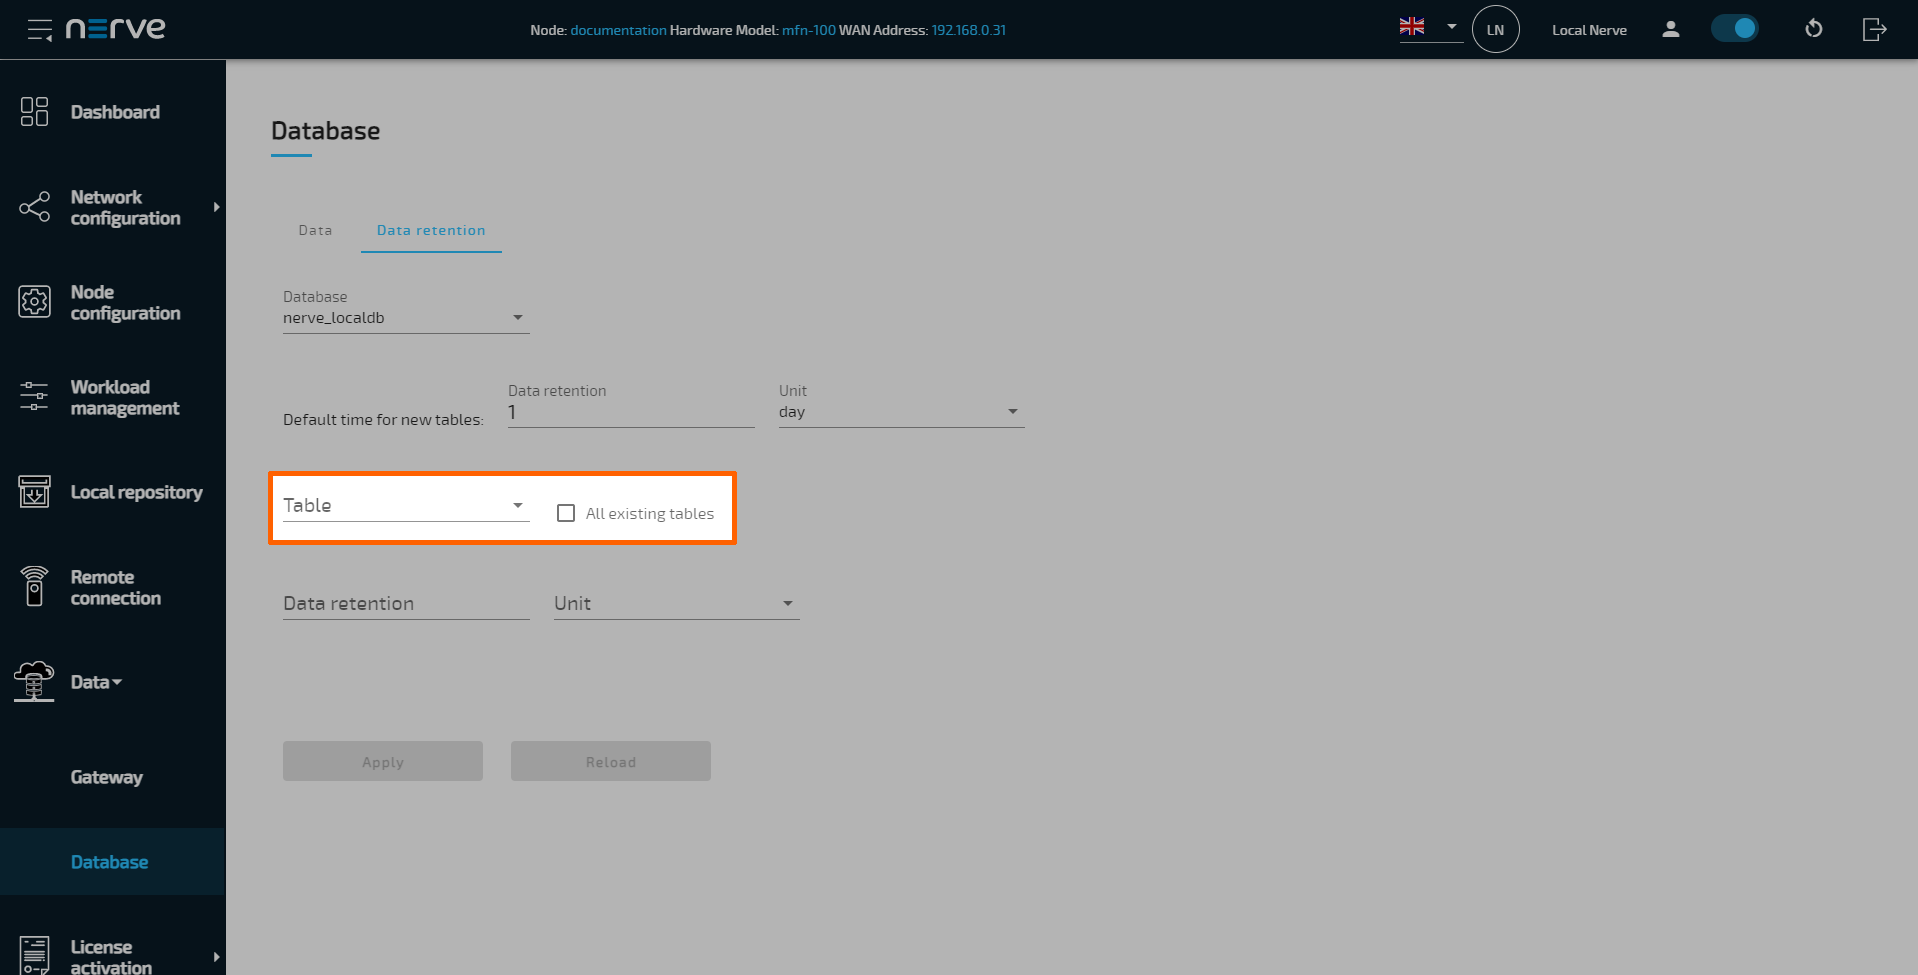
-
Set the value to the desired amount of time.
Note
This setting allows the definition of retention time for existing tables. The time value below this selection is applied to table selected in step 6 above. The retention time of all currently available tables can be defined one by one by selecting each table from the drop-down menu, setting a data retention time below and selecting Apply. If all existing tables are to have the same data retention time, tick the checkbox next to All existing tables, set a data retention time below and select Apply.
After selecting Apply, data retention settings are applied. Note that the currently data retention time of an existing table is displayed in the settings when the table is selected from the drop-down menu.