Nodes#
This chapter will walk you through node management and basic operations in the UI. The topics covered in this chapter are mainly means of organization and have no impact on the functionality of the nodes and their workloads.
Note
Operational functions of the nodes are located in the node details view in the Node Tree.
| Item | Description |
|---|---|
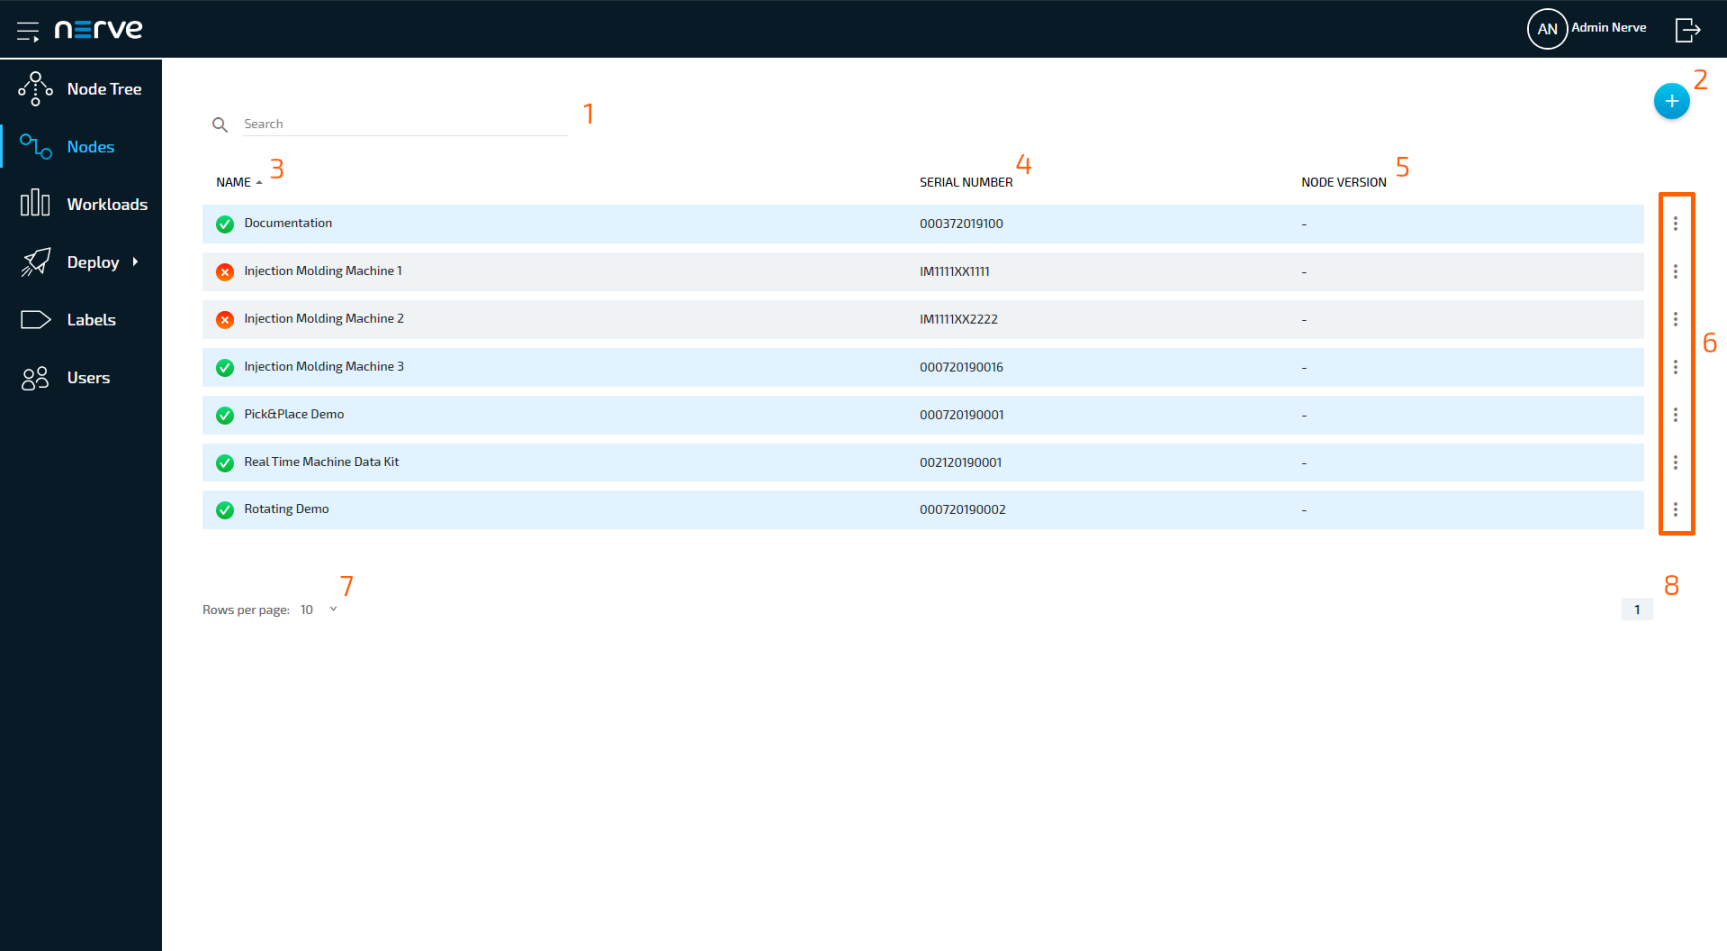
| Search bar (1) | Use the search bar to filter nodes by name. |
| Add new node (2) | Click here to manually add a new node. |
| NAME (3) | This is the name of the node. If a node is online or offline can be seen to the left of the name. A green check mark indicates an online node while a red cross shows an offline node. The sorting of the list can also be switched from alphabetical to reverse alphabetical by clicking NAME. |
| SERIAL NUMBER (4) | This is the serial number of the node that was entered during the node registration process. It was possibly extended to 12 characters by the registration tool. |
| NODE VERSION (5) | This is the version of the node. The default value is 2.0.0. |
| Ellipsis menu (6) | Clicking here opens an overlay that allows deleting nodes. |
| Rows per page (7) | Specify how many nodes are displayed on one page. You can select 5, 10 or 15 nodes per page. |
| Page navigation (8) | Use the arrows to switch between pages. Clicking the number in the middle opens a list of all page numbers. Selecting a number jumps to that page. |
Adding a Node Manually#
Note
If you are adding a new node, please refer to the node registration chapter.
In this version, there is the possibility to manually add nodes to the Management System. This way of adding nodes is only possible if a node has been added previously through the registration process and if its details are known.
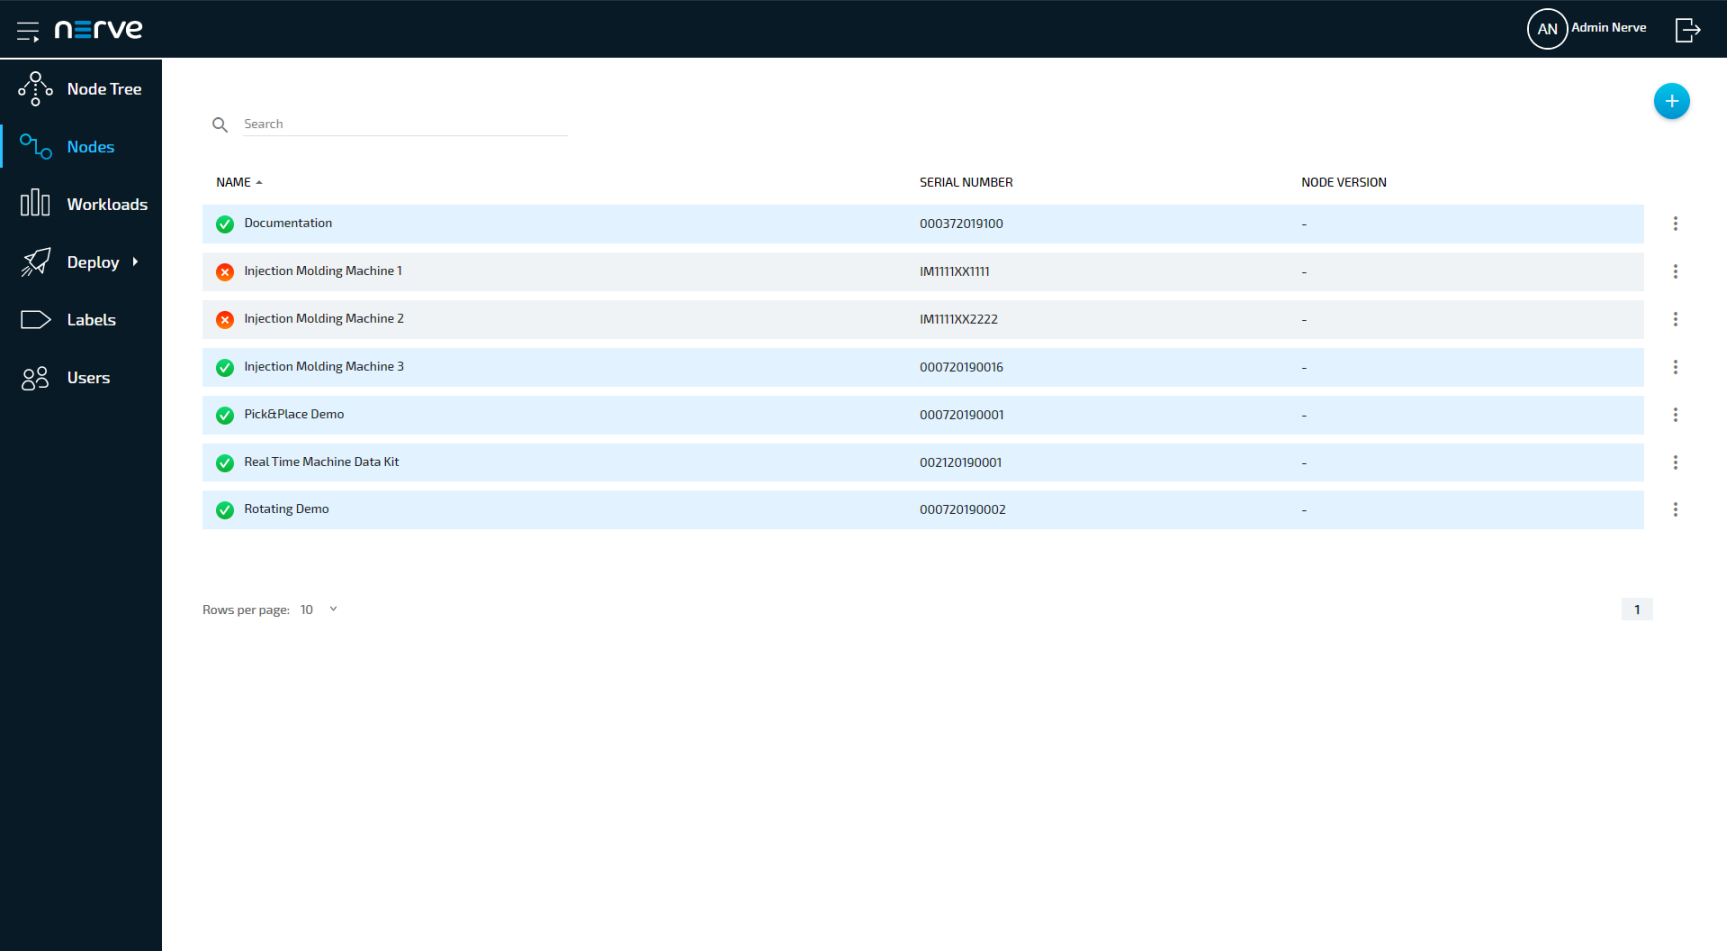
- Select Nodes in the menu on the left side.
-
Select Add new node icon in the upper-right corner.
-
Enter the following information:
Item Description Name Enter the name for the node that will help you identify it easily. Secure ID This ID is generated when the node is registered in the Management System. There is no way to generate and obtain this ID other than registering the node with the registration tool. Serial no. This is the serial number of your Nerve Device. Please note that the serial number needs to have 12 characters. If the serial number of your Nerve Device does not have 12 characters, please extend the serial number. Version This field is optional. You can define a node version here as a means to help with organization. The default value set by the registration tool is 2.0.0. Insert Label This field is optional. You can add labels to the node for easier identification and workload deployment. -
Click Save to save your changes.

The node now appears in the node list and in Root > Unassigned in the Node Tree.
Note
Labels have to be created first before they can be assigned to nodes. See Labels for information on how to create labels.
Editing the Details of Nodes#
After registering a node through the registration process, you can edit its details again in the Nodes menu. If you have a large number of nodes, you can use the search bar at the top to search for nodes.
- Select Nodes in the left-hand menu.
- Click a node from the list.
-
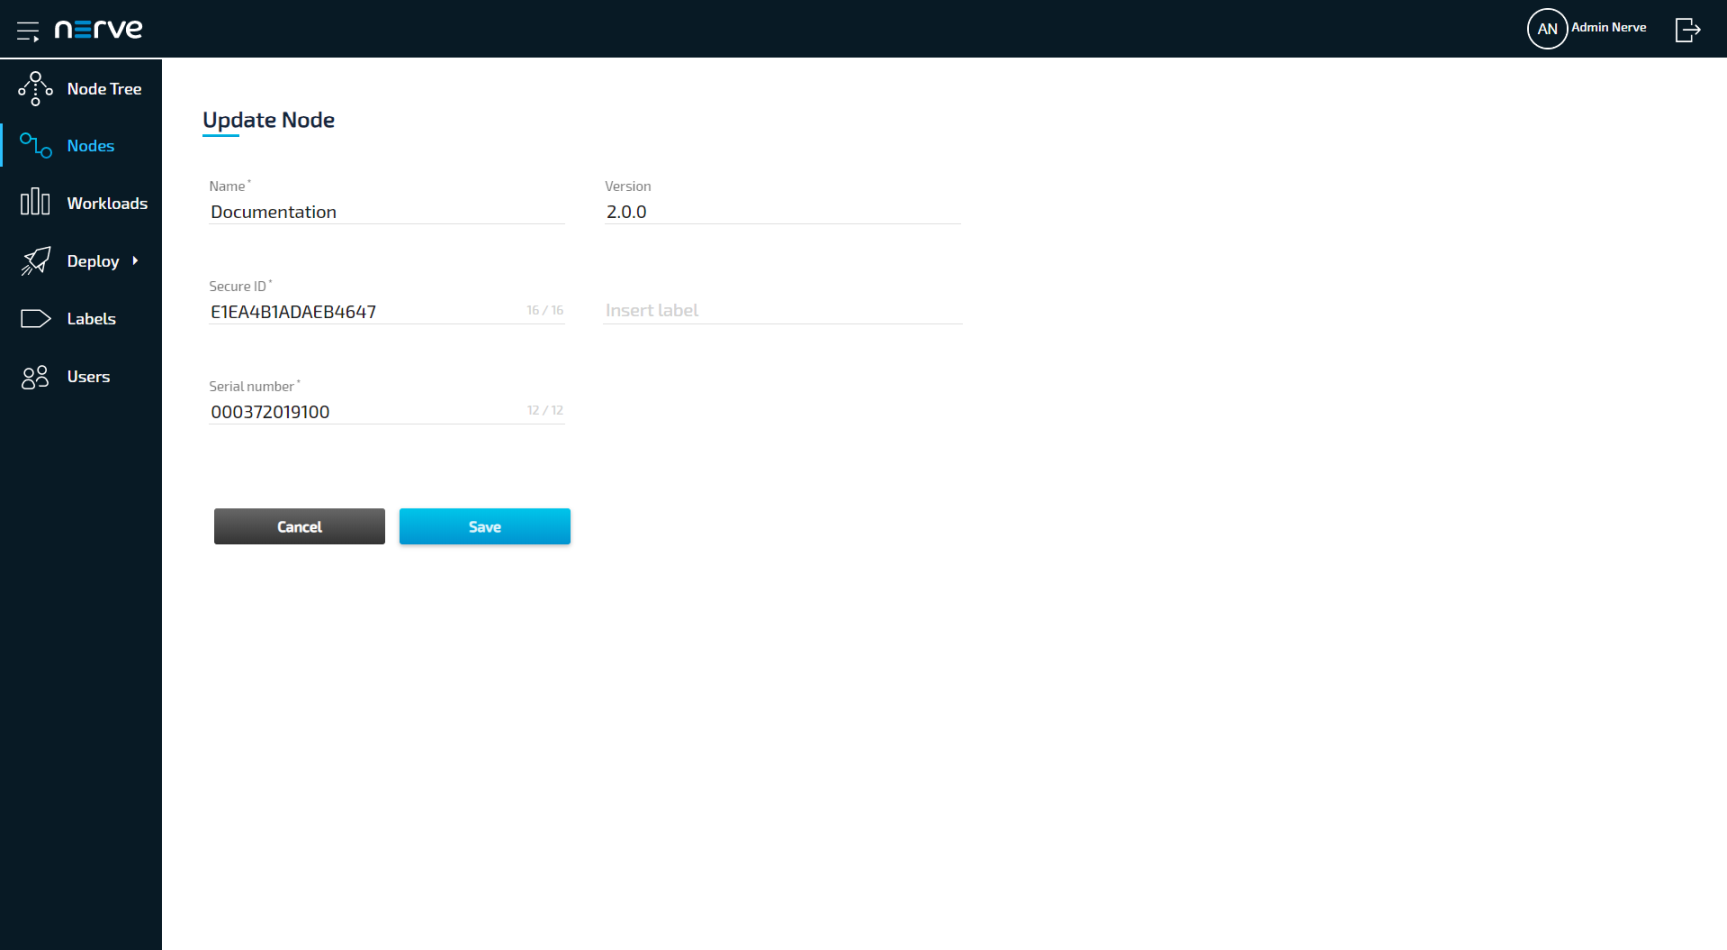
Edit the details of the node:
Item Description Name Enter the name of the node. The default name of a node is its serial number. Secure ID This is the ID generated during the node registration process. Do not edit this ID without a valid reason. Serial number This is the serial number of the node. Do not edit the serial number without a valid reason. Version This is the node version. The default value is 2.0.0. Insert label If labels have been defined in the Management System, assign them to nodes here. Start typing to see a list of available labels in a drop-down menu.
Please note that only one label per label key can be assigned.Note
Changing the Secure ID or Serial no. of a node will break the connection between the node and the Management System.
-
Click Save to save your changes.
Removing a Node#
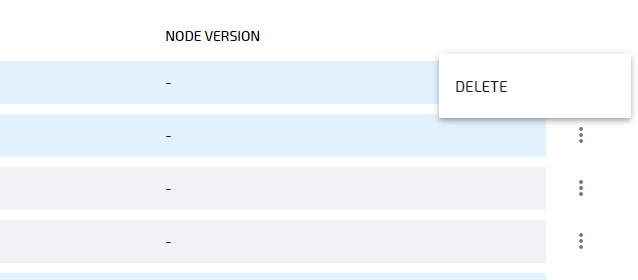
Please note that generally there is no need in removing a node. Only remove a node in case of technical difficulties or if customer support instructs you to. If you need to remove a node, select DELETE in the ellipsis menu on the right side of a node in the node list.
If you need to register the node in the Management System again, you will need to follow the node registration process