Siemens SIMATIC IPC127E
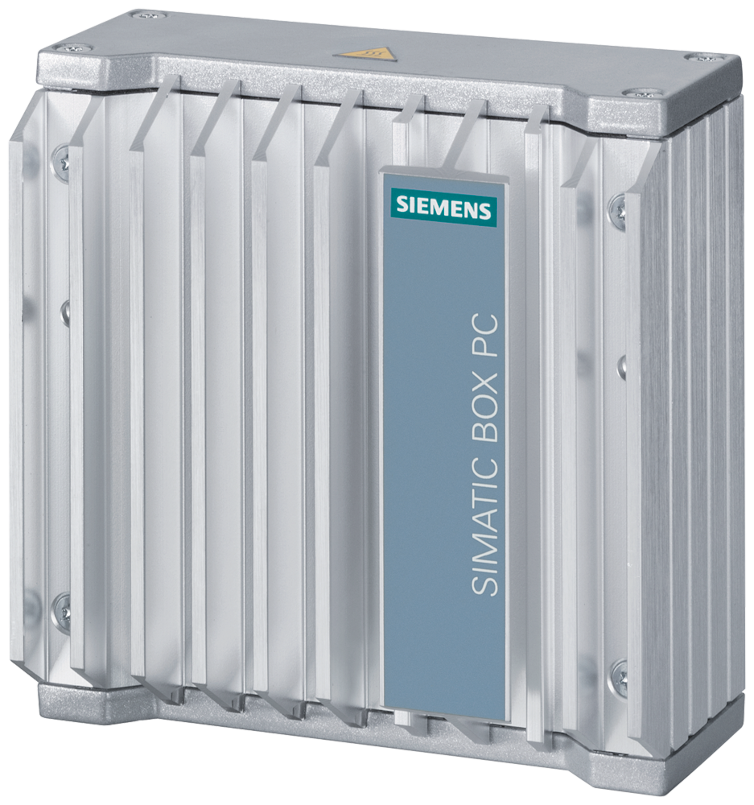
The SIMATIC IPC127E can be integrated into a control cabinet or directly on the machine with minimal space requirements to record, collect, process, and transfer data directly in the production environment.
For more information refer to the information materials provided by the manufacturer:
Device specifications
The table below contains the key specifications of the specific hardware model that has been certified for Nerve Blue usage. Use the article number listed here when ordering the device from the manufacturer only. Note that other device variants are not supported as Nerve Devices.
If required, contact sales@tttech-industrial.com for help with ordering Nerve Devices.
| Item | Description |
|---|---|
| Article number | 6AG4021-0AB12-1CA0 /SIMATIC IPC127 |
| CPU | Intel Atom E3940 |
| Cores | 4 |
| RAM | 4 GB |
| Storage | 128 GB |
| TPM | TPM 2.0 included |
| Interfaces |
|
Setting up the device for Nerve Blue usage
Requirements for the instructions below:
|
Refer to the user manual of the manufacturer to set up the hardware. Connect a keyboard and a monitor to the device and make sure that the device is ready to be powered on. Also, prepare a USB drive in case the BIOS version of the device needs to be updated.
BIOS update
To avoid possible issues and complications, the BIOS version on the SIMATIC IPC127E needs to be version V27.01.03. or later. Refer to the user manual of the manufacturer for information on how to update the BIOS version.
Required BIOS settings for Nerve Blue
Certain BIOS settings need to be changed to ensure the desired performance of the Nerve Blue system.
- Power on the device.
- Press Esc while the device is booting to enter the BIOS menu.
-
Change the following settings:
Path Setting Power > Advanced CPU Control > VT-d Enabled Power > Advanced CPU Control > Active Processor Cores Disabled Power > Advanced CPU Control > C states Disabled Power > Advanced CPU Control > User Power Scenario Max Performance Power > Advanced CPU Control > Turbo Mode Disabled Boot > Network Stack Enabled Boot > USB Boot Enabled -
Save the changes and exit BIOS.
Installing Nerve Blue
Requirements for installing Nerve Blue on the device:
|
In addition, a workstation is required to prepare the bootable USB drive. Connect the monitor and the keyboard to the SIMATIC IPC127E.
Before beginning with the installation, make sure that the device will boot from the USB drive. Press Esc when the device is booting to enter BIOS and change the boot device settings.
On Windows
- Download the
Nerve_Blue_USB-installer_2.2.0_for_siemens-simatic-ipc127e.img.tar.gzfrom the Nerve Software Center to a workstation. - Extract the
Nerve_Blue_USB-installer_2.2.0_for_siemens-simatic-ipc127e.img.tar.gzfile to retrieve theNerve_Blue_USB-installer_2.2.0_for_siemens-simatic-ipc127e.img. Depending on the program used, the file might need to be extracted more than once. - Transfer the extracted
Nerve_Blue_USB-installer_2.2.0_for_siemens-simatic-ipc127e.imgfile to the USB drive using Rufus. - Plug the USB drive into a USB port of the Nerve Device.
- Make sure that the device will boot from the USB drive and power on the device.
The setup will start automatically and take a few minutes to complete. Select OK when the installation is complete and remove the USB drive. The device will reboot and reach a log in screen, asking for host access log in credentials. Make sure that the device will boot from the hard disk before rebooting the device.
On Linux
- Download the
Nerve_Blue_USB-installer_2.2.0_for_siemens-simatic-ipc127e.img.tar.gzfile from the Nerve Software Center. -
Enter the following commands to extract the
Nerve_Blue_USB-installer_2.2.0_for_siemens-simatic-ipc127e.img.tar.gzfile and transfer the extracted file to the USB drive:tar xf Nerve_Blue_USB-installer_2.2.0_for_siemens-simatic-ipc127e.img.tar.gz sudo dd if=Nerve_Blue_USB-installer_2.2.0_for_siemens-simatic-ipc127e.img bs=4M of=/dev/sd<drivename> status=progress sync
Note
Make sure to replace
<drivename>with the system name of the USB drive. -
Plug the USB drive into a USB port of the Nerve Device.
- Make sure that the device will boot from the USB drive and power on the device.
The setup will start automatically and take a few minutes to complete. Select OK when the installation is complete and remove the USB drive. The device will reboot and reach a log in screen, asking for host access log in credentials. Make sure that the device will boot from the hard disk before rebooting the device.
Activating the Nerve Blue license
After the installation, the product license needs to be activated so that Nerve Blue can be used on the device. Connect a workstation to port X1 P1 and configure the network adapter of the workstation. The IP address has to be in the range from 172.20.2.5 to 172.20.2.254 with a 255.255.255.0 subnet mask.
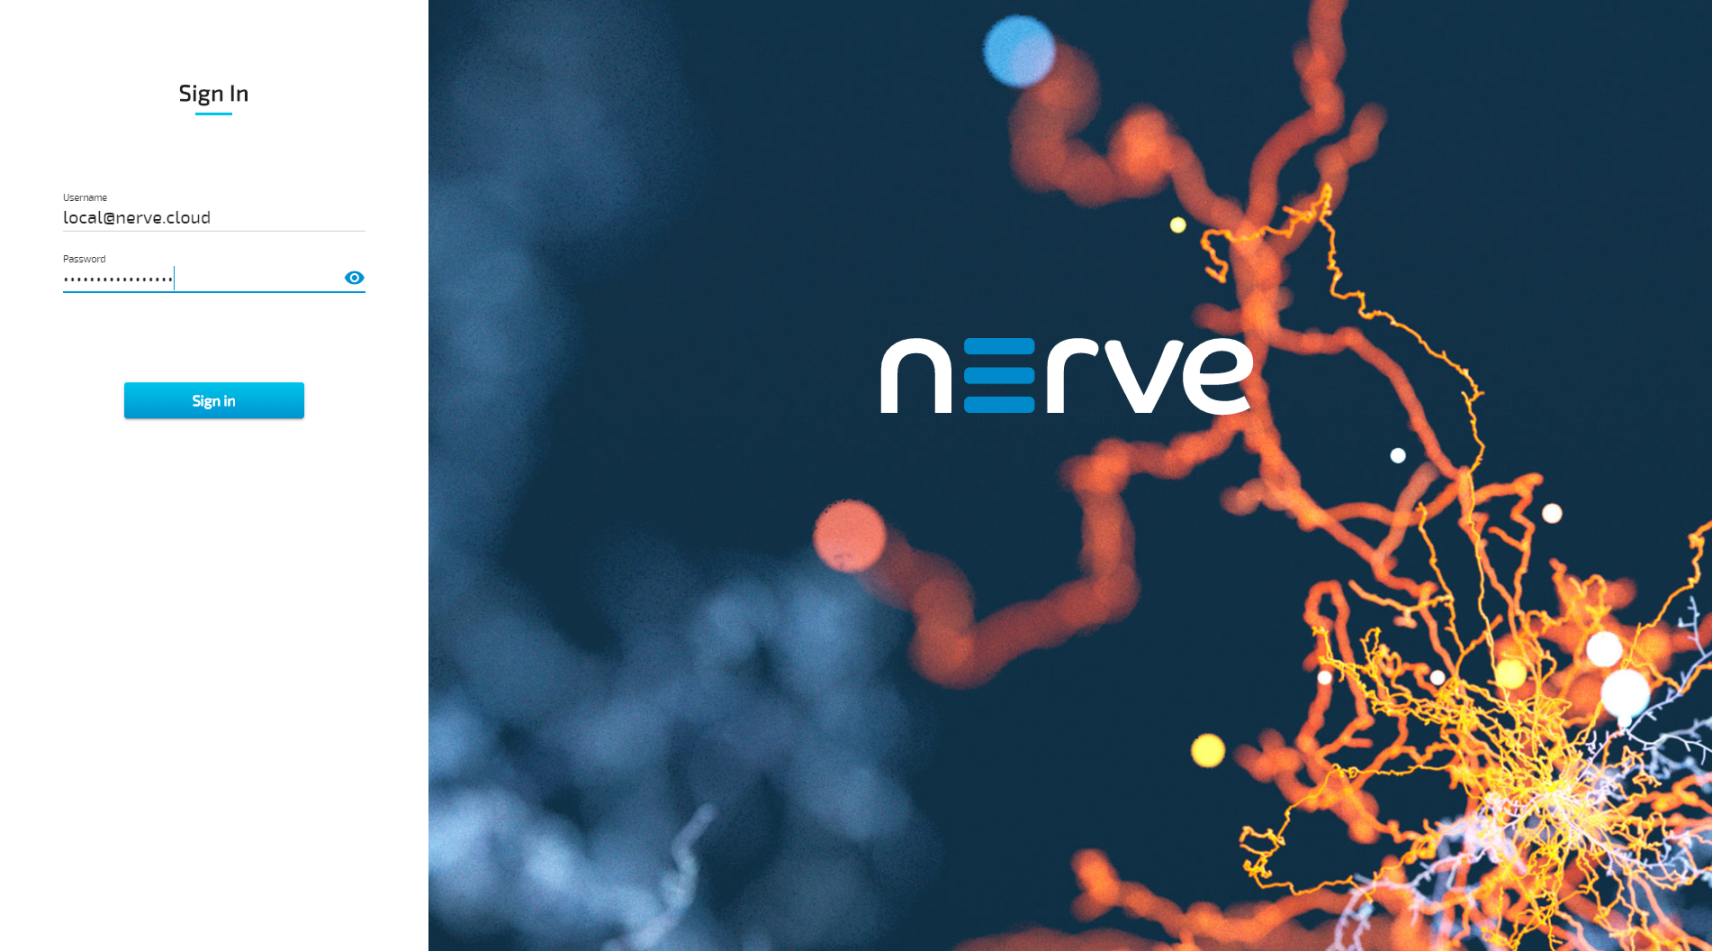
Access the license activation UI at http://172.20.2.1:3333/ and refer to License activation in the user guide for more information.
Accessing the Local UI and registering the device
With the license activated, the node needs to be registered for use in the Management System through the Local UI. To access the Local UI, first connect a workstation to port X1 P1 and configure the network adapter of the workstation. The IP address has to be in the range from 172.20.2.5 to 172.20.2.254 with a 255.255.255.0 subnet mask. The credentials for the Local UI found in the customer profile are also required.
- Follow this link to connect to the Local UI: http://172.20.2.1:3333/
-
Log in with the credentials from the customer profile.
Continue with Node configuration for information on how to start registering the device in the Management System.
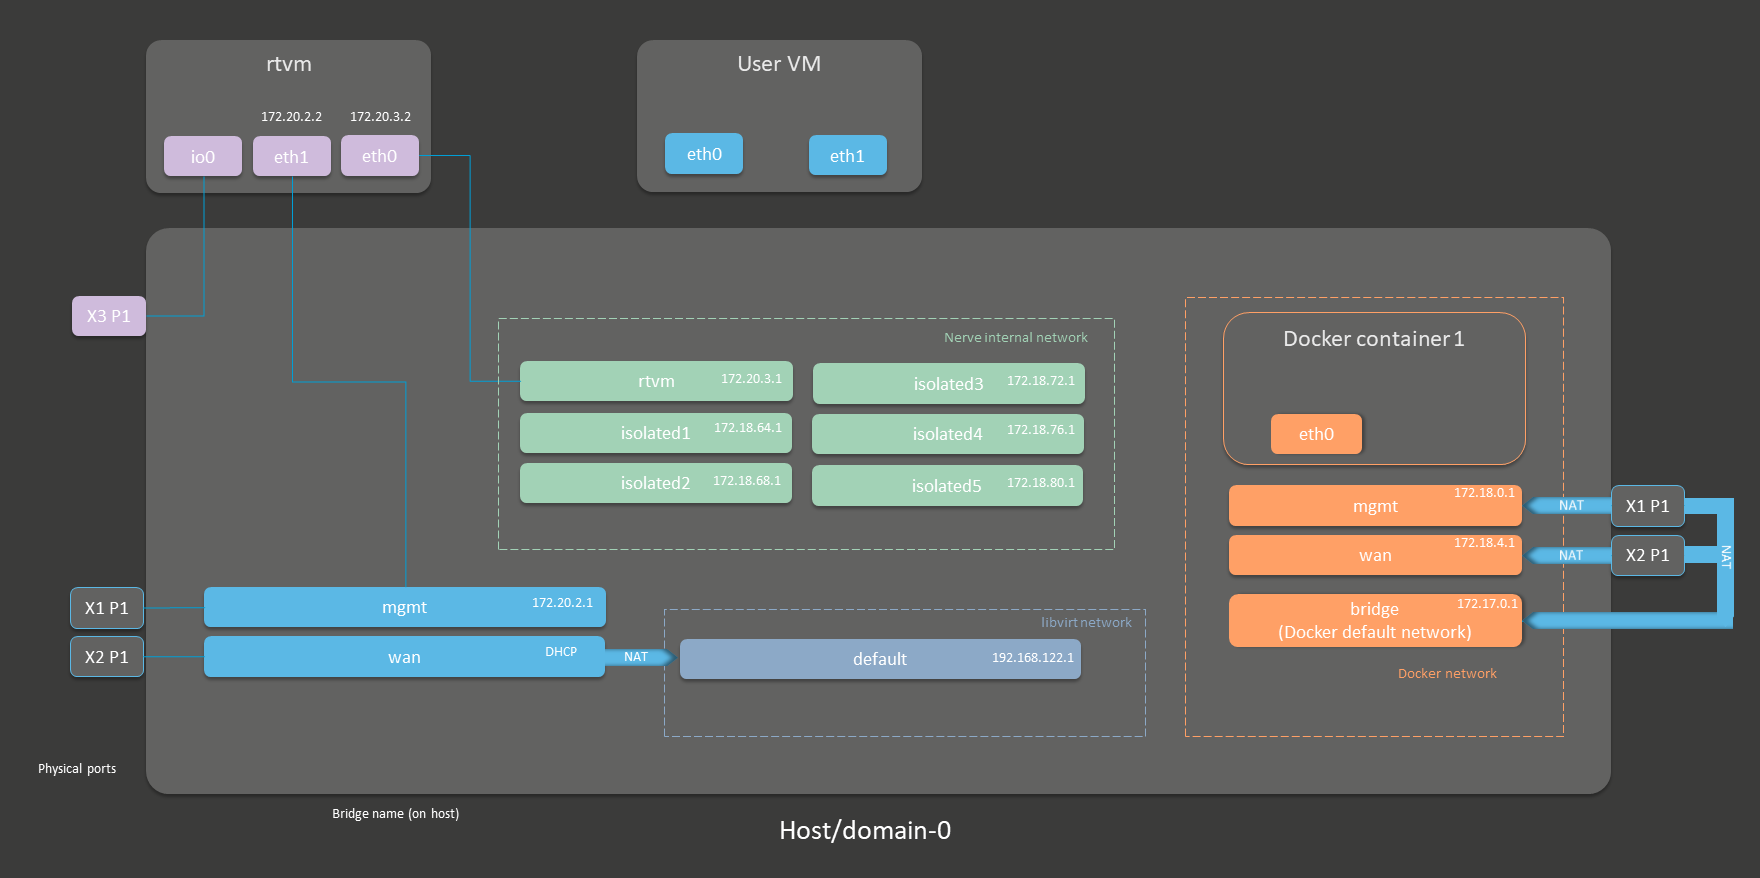
Physical ports and network interfaces
Below is a depiction of the node internal networking adapted to the SIMATIC IPC127E hardware. Refer to Node internal networking for more information. The table offers a quick overview of the network interfaces that can be reached through the physical ports of the SIMATIC IPC127E.
| Physical port | Network name |
|---|---|
| X1 P1 | mgmt |
| X2 P1 | wan |
| X3 P1 | io0 |