Provisioning a CODESYS workload
Before a CODESYS workload can be provisioned, a CODESYS application has to be loaded into the CODESYS runtime first. Refer to First steps with CODESYS first before continuing.
Once a CODESYS application has been loaded into the CODESYS runtime, the following steps have to be taken before the workload can be provisioned:
- Creating the ZIP file of the CODESYS application
- Transferring the ZIP file to a local workstation
Also the workstation needs to be connected to the physical port of the Nerve Device associated with host access, and the network adapter IP address of the workstation needs to be configured in the correct range. This information is device specific. Refer to the device guide for information on the Nerve Device.
Creating the ZIP file on the Nerve Device
First, the CODESYS project needs to be zipped on the Nerve Device before it can be copied from the CODESYS runtime. This is done through the Local UI.
- Follow the link to the Local UI of the used Nerve Device. Refer to the device guide for more information.
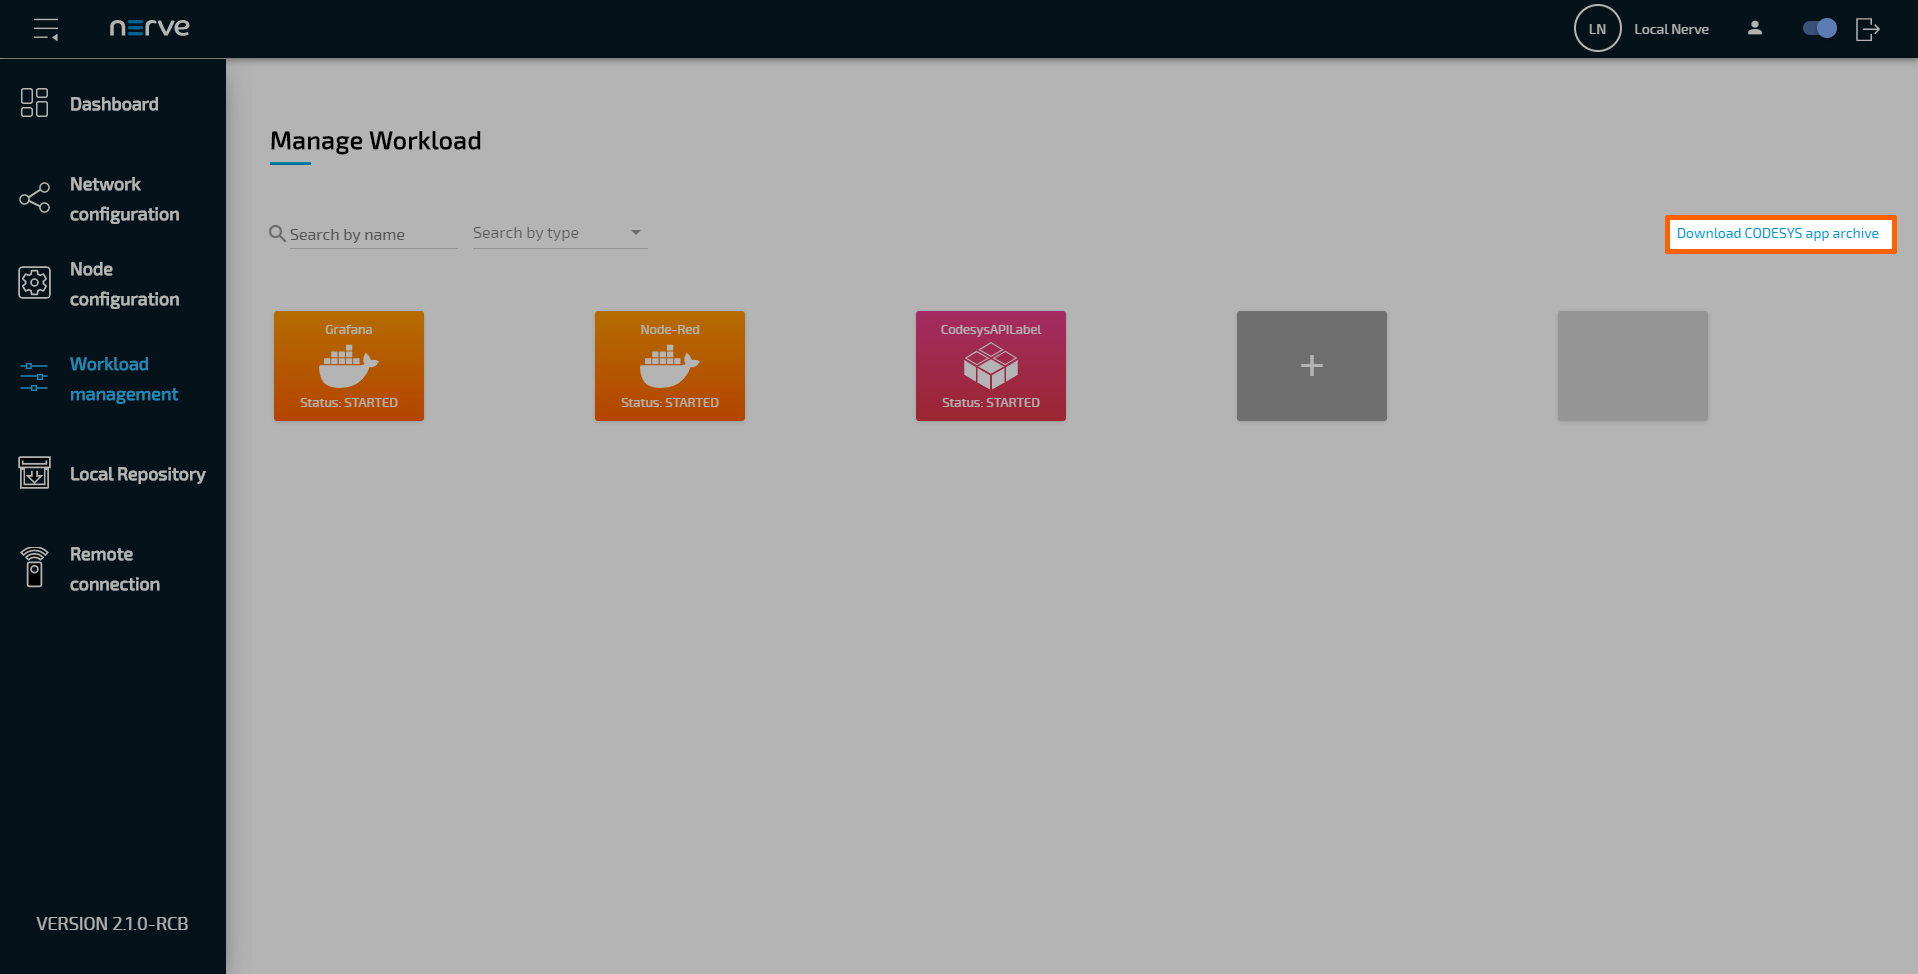
- Select Workload management in the navigation on the left.
-
Click Download CODESYS app archive.
-
Select YES in the pop-up. Note that the CODESYS application will be stopped.
The ZIP file is automatically downloaded to the workstation and a CODESYS workload can now be provisioned in the Management System.
Provisioning a CODESYS workload
The following instructions cover the basic requirements for provisioning a CODESYS workload. Optional settings will be left out. Extended options are addressed in the last section of this chapter.
There are two further types of workloads that can be provisioned: Virtual Machine workloads and Docker workloads. The process for each workload is highlighted in its respective chapter.
- Log in to the Management System.
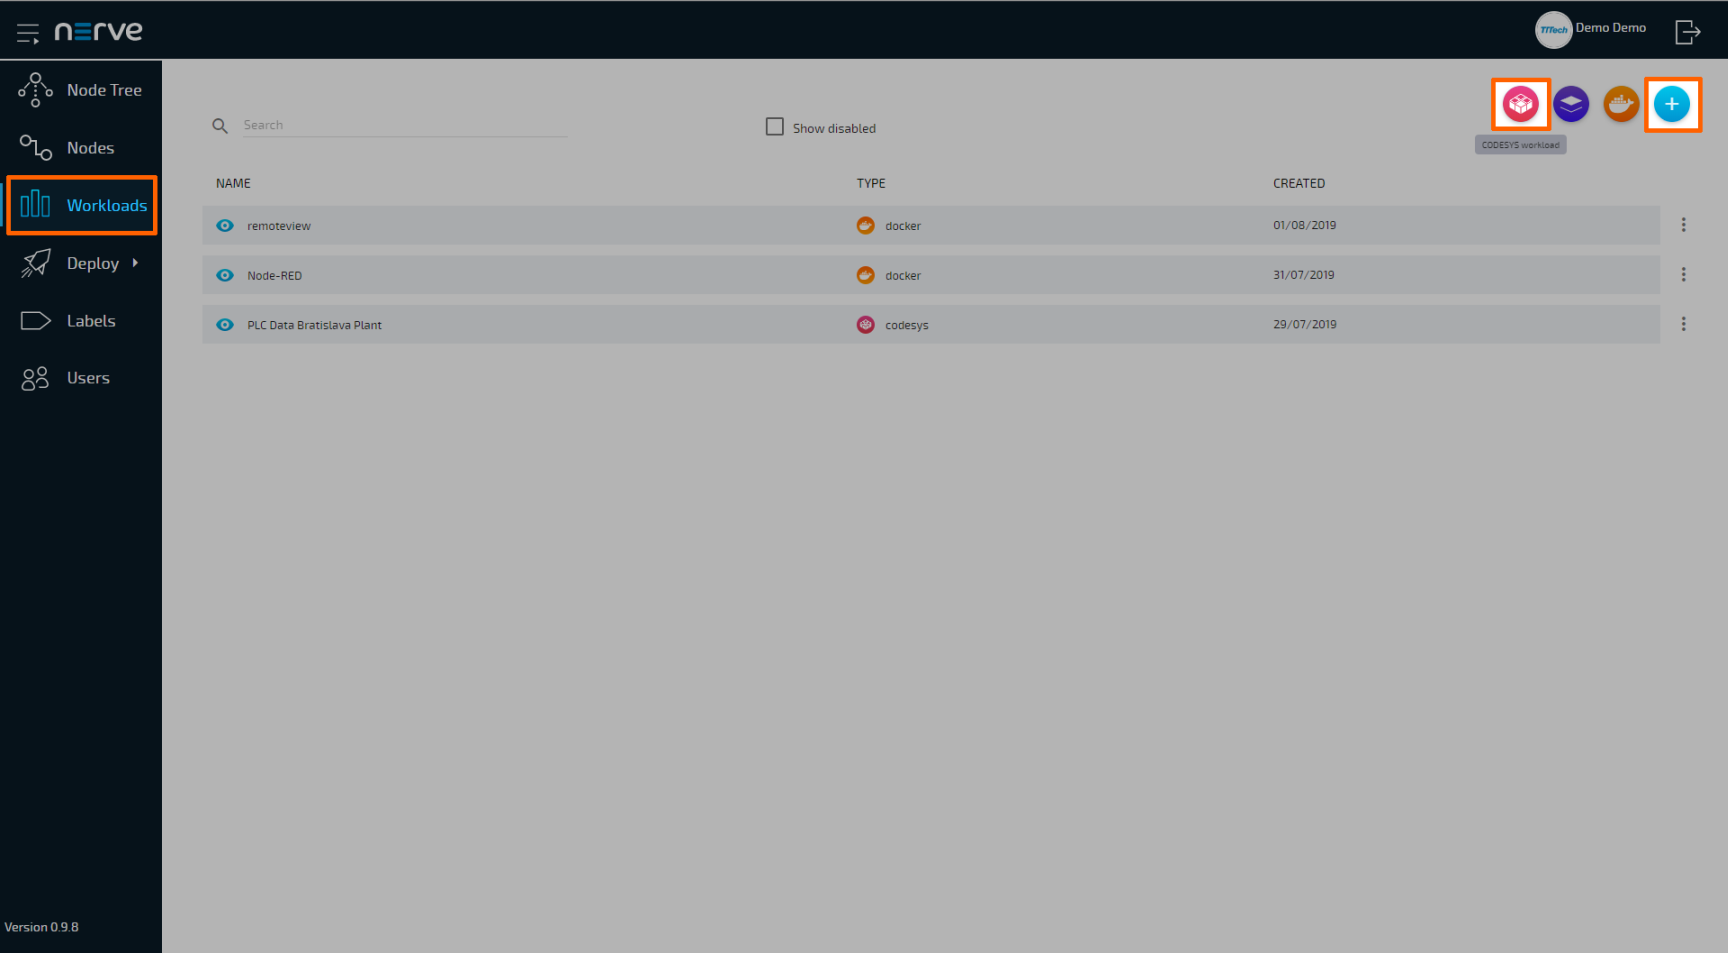
- Select Workloads in the left-hand menu.
- Select the plus symbol in the upper-right corner.
-
Select the CODESYS symbol (CODESYS workload) on the left of the three symbols that expanded.
-
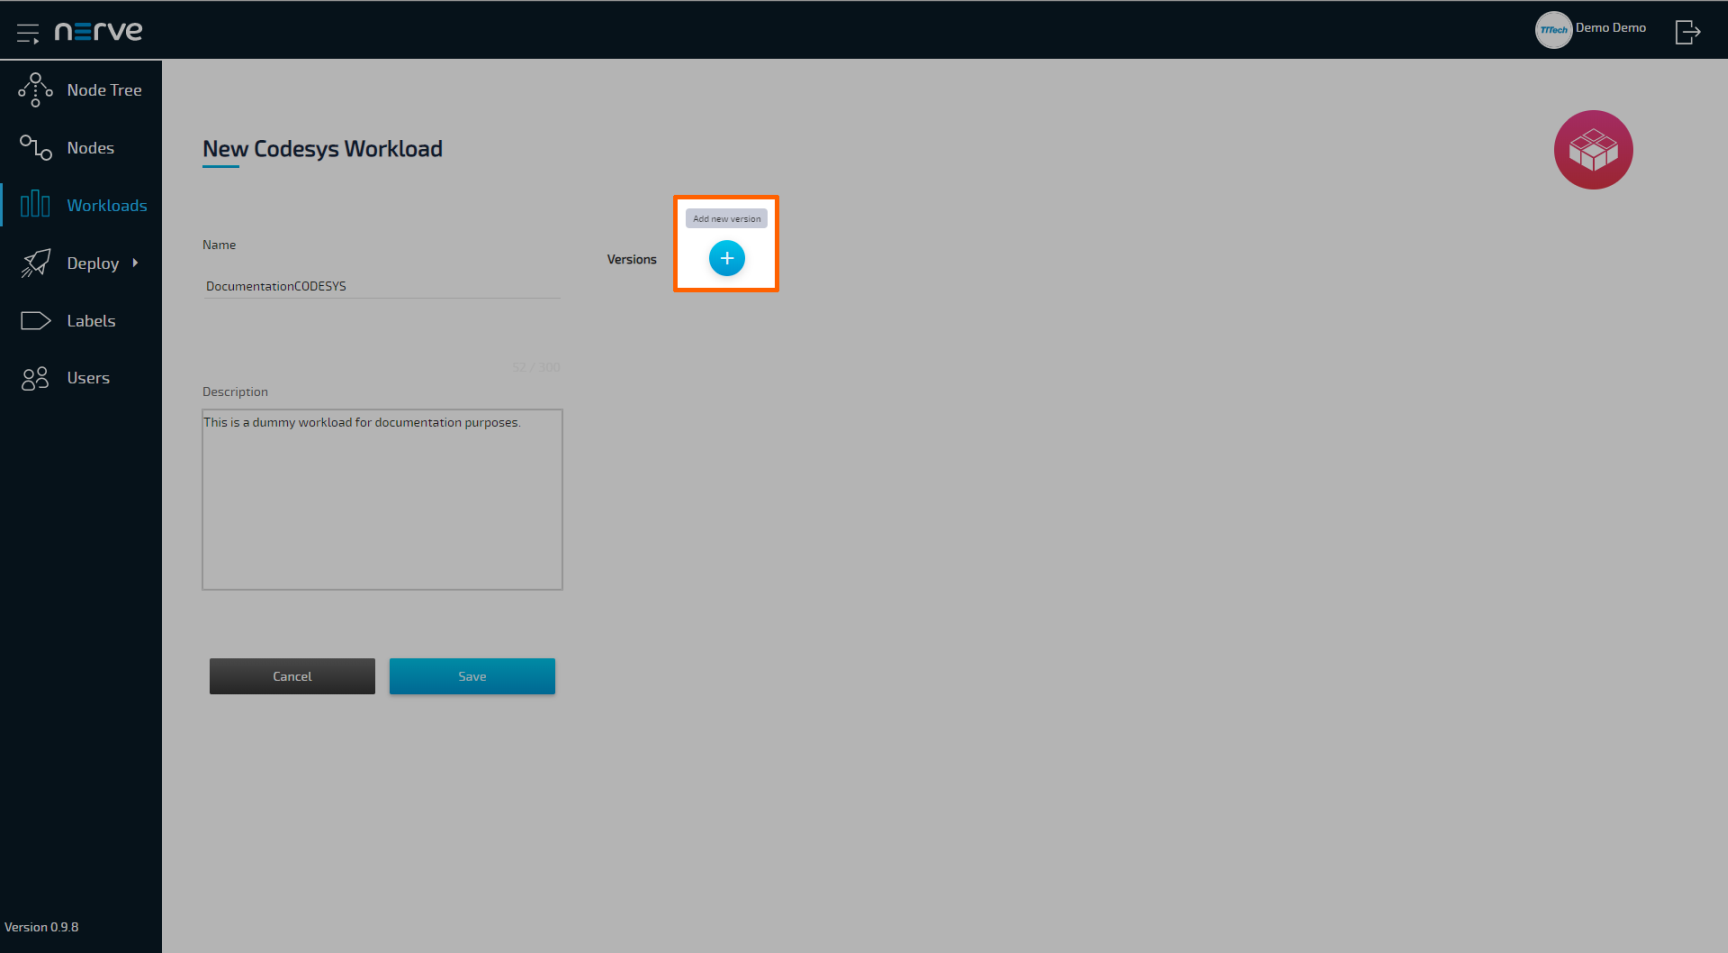
In the new window, enter a name for the workload.
-
Select the plus symbol next to Versions to add a new version of the workload.
-
In the new window, enter the following information:
Item Description Name Enter a Name for the version of this workload. Release name Enter a Release name for the version of this workload. CODESYS project file Click the upward arrow symbol to add the CODESYS application ZIP file.
This is the ZIP file that was created above.
-
Click Save.
The workload has now been provisioned and is ready to be deployed in the Deploy menu.
Settings for CODESYS workloads
In the instructions above, optional settings have been left out. Below is an overview of all options with an explanation to each option.
| Setting | Description |
|---|---|
| VERSION SPECIFIC INFO | Name A name for the workload version. Choose a precise name to make the workload version unambiguous. Release name A release name for the workload version. This could be a version number. Example: 1.0.1 |
| CODESYS APPLICATION FILES TO UPLOAD | Upload the CODESYS project file here. This is a ZIP file that has to be generated from a CODESYS project running in the CODESYS runtime. Upload it here by clicking the upward arrow symbol to open the file browser. |
| Mark as released | Tick this checkbox to mark this workload as released. Once marked as released, the workload cannot be edited anymore. |
| SELECTOR | Labels If labels have been defined and assigned to nodes, add them as selectors to the workload. When deploying a workload, the list of nodes will be filtered automatically to the specified label. |