Device Guide
The device guide is an extension of the user guide. It gives an overview of supported Nerve Devices and the device specific information that is required for installing and operating Nerve software.
Each device chapter includes the following information:
- Links to documentation material from the manufacturer
- Hardware setup for getting the device Nerve ready
- First steps after the installation
- Overview of physical ports and node internal networking
All devices share the base functionality of Nerve but differ in the extent of functionality.
Note
The device guide chapter for the MFN 100 contains more information as it is the flagship device for Nerve. Nerve can be used to its full extent when operating on the MFN 100.
 |
 |
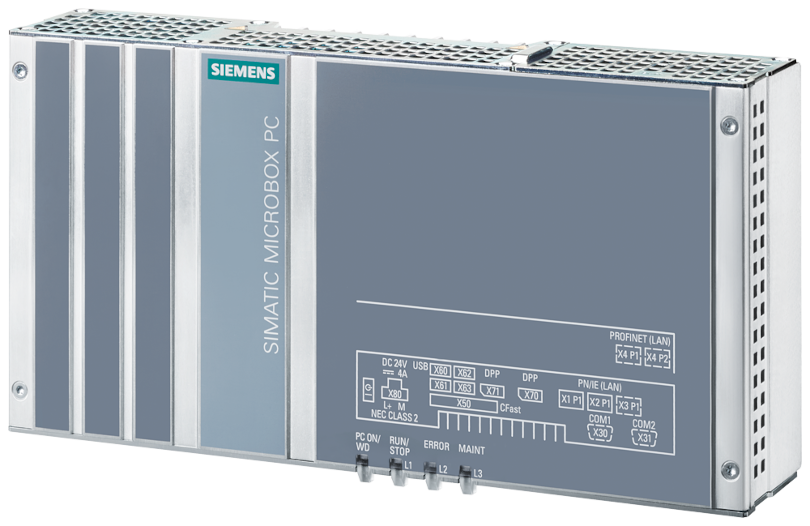
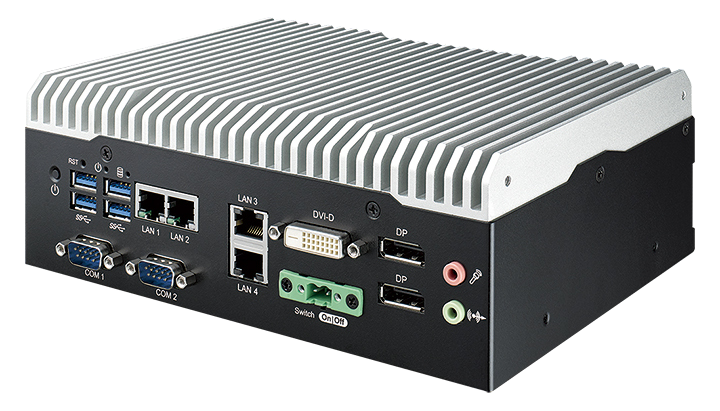
| MFN 200 | MFN 100 |
 |
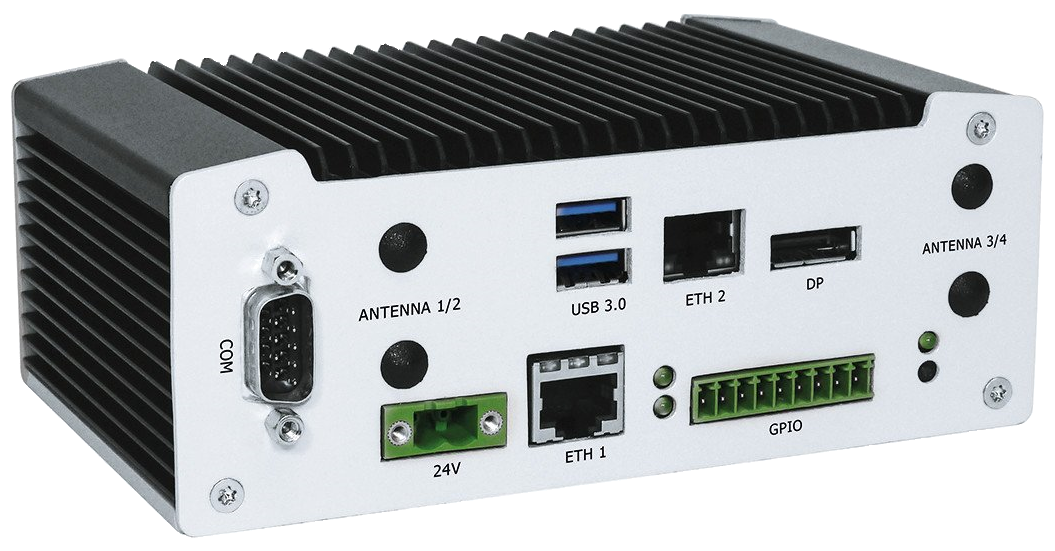 |
| fitlet3 | Kontron Kbox A-250 |
 |
 |
| Siemens SIMATIC IPC427E | Siemens SIMATIC IPC BX-39A |
 |
|
| Vecow SPC-5600-i5-8500 |
Installing Nerve
The following instructions guide you trough the installation of Nerve on a supported device from different manufacturers.
Note that in the following instructions <version_number> and <drivename> are used as a placeholders.
To obtain the correct version number for your device, contact sales@tttech-industrial.com or submit a request through the TTTech Industrial support portal. Requirements for installing Nerve on the device:
|
In addition, a workstation is required to prepare the bootable USB drive. Connect the monitor and the keyboard to the device.
Before beginning with the installation, make sure that the device will boot from the USB drive. Press Del when the device is booting to enter BIOS and change the boot device settings.
On Windows
- Download the
Nerve_Blue_USB-installer_<version_number>_for_generic.img.tar.gzfrom the Nerve Software Center to a workstation. - Extract the
Nerve_Blue_USB-installer_<version_number>_for_generic.img.tar.gzfile to retrieve theNerve_Blue_USB-installer_<version_number>_for_generic.imgfile. Depending on the program used, the file might need to be extracted more than once. -
Transfer the extracted
Nerve_Blue_USB-installer_<version_number>_for_generic.imgfile to the USB drive using Rufus.Note
Make sure to replace
<version_number>with the version number needed for your device. -
Plug the USB drive into a USB port of the Nerve Device.
- Make sure that the device will boot from the USB drive and power on the device.
The setup will start automatically and take a few minutes to complete part 1 of the installation. After a reboot, part 2 of the installation will continue. Once the installation is finished, follow the on screen instructions to either close the installation window or reboot the device. The device will then reach a log in screen, asking for host access log in credentials. Make sure that the device will boot from the hard disk if rebooting the device again.
Note
- In some cases, part 2 of the installation will proceed with a reboot before the installation window can be closed. This is due to certain services needing a device reboot to finish configuration.
- In case of error, the installation window in part 2 will change its background color to red and prompt the user the reinstall from the beginning. In this case, reboot the device and restart the installation from the USB drive.
On Linux
- Download the
Nerve_Blue_USB-installer_<version_number>_for_generic.img.tar.gzfile from the Nerve Software Center. -
Enter the following commands to extract the
Nerve_Blue_USB-installer_<version_number>_for_generic.img.tar.gzfile and transfer the extracted file to the USB drive:tar xf Nerve_Blue_USB-installer_<version_number>_for_generic.img.tar.gz sudo dd if=Nerve_Blue_USB-installer_<version_number>_for_generic.img bs=4M of=/dev/sd<drivename> status=progress syncNote
Make sure to replace
<drivename>with the system name of the USB drive. Make sure to replace<version_number>with the version number needed for your device. -
Plug the USB drive into a USB port of the Nerve Device.
- Make sure that the device will boot from the USB drive and power on the device.
The setup will start automatically and take a few minutes to complete part 1 of the installation. After a reboot, part 2 of the installation will continue. Once the installation is finished, follow the on screen instructions to either close the installation window or reboot the device. The device will then reach a log in screen, asking for host access log in credentials. Make sure that the device will boot from the hard disk if rebooting the device again.
Note
- In some cases, part 2 of the installation will proceed with a reboot before the installation window can be closed. This is due to certain services needing a device reboot to finish configuration.
- In case of error, the installation window in part 2 will change its background color to red and prompt the user the reinstall from the beginning. In this case, reboot the device and restart the installation from the USB drive.