Provisioning a Docker workload
The following instructions only cover the required settings for provisioning a Docker workload. Optional settings will be left out. Extended options are addressed in the last section of this chapter. However, note that some of these settings are necessary to provision a functioning workload. Make sure to understand the workload and its purpose before provisioning a workload.
Other workload types that can be provisioned are:
The process for each workload is highlighted in its respective chapter.
Note
A Docker image is required for the following instructions. Refer to the Docker documentation for help on creating a Docker image. Note that Docker images in TAR.GZ format are not supported.
- Log in to the Management System.
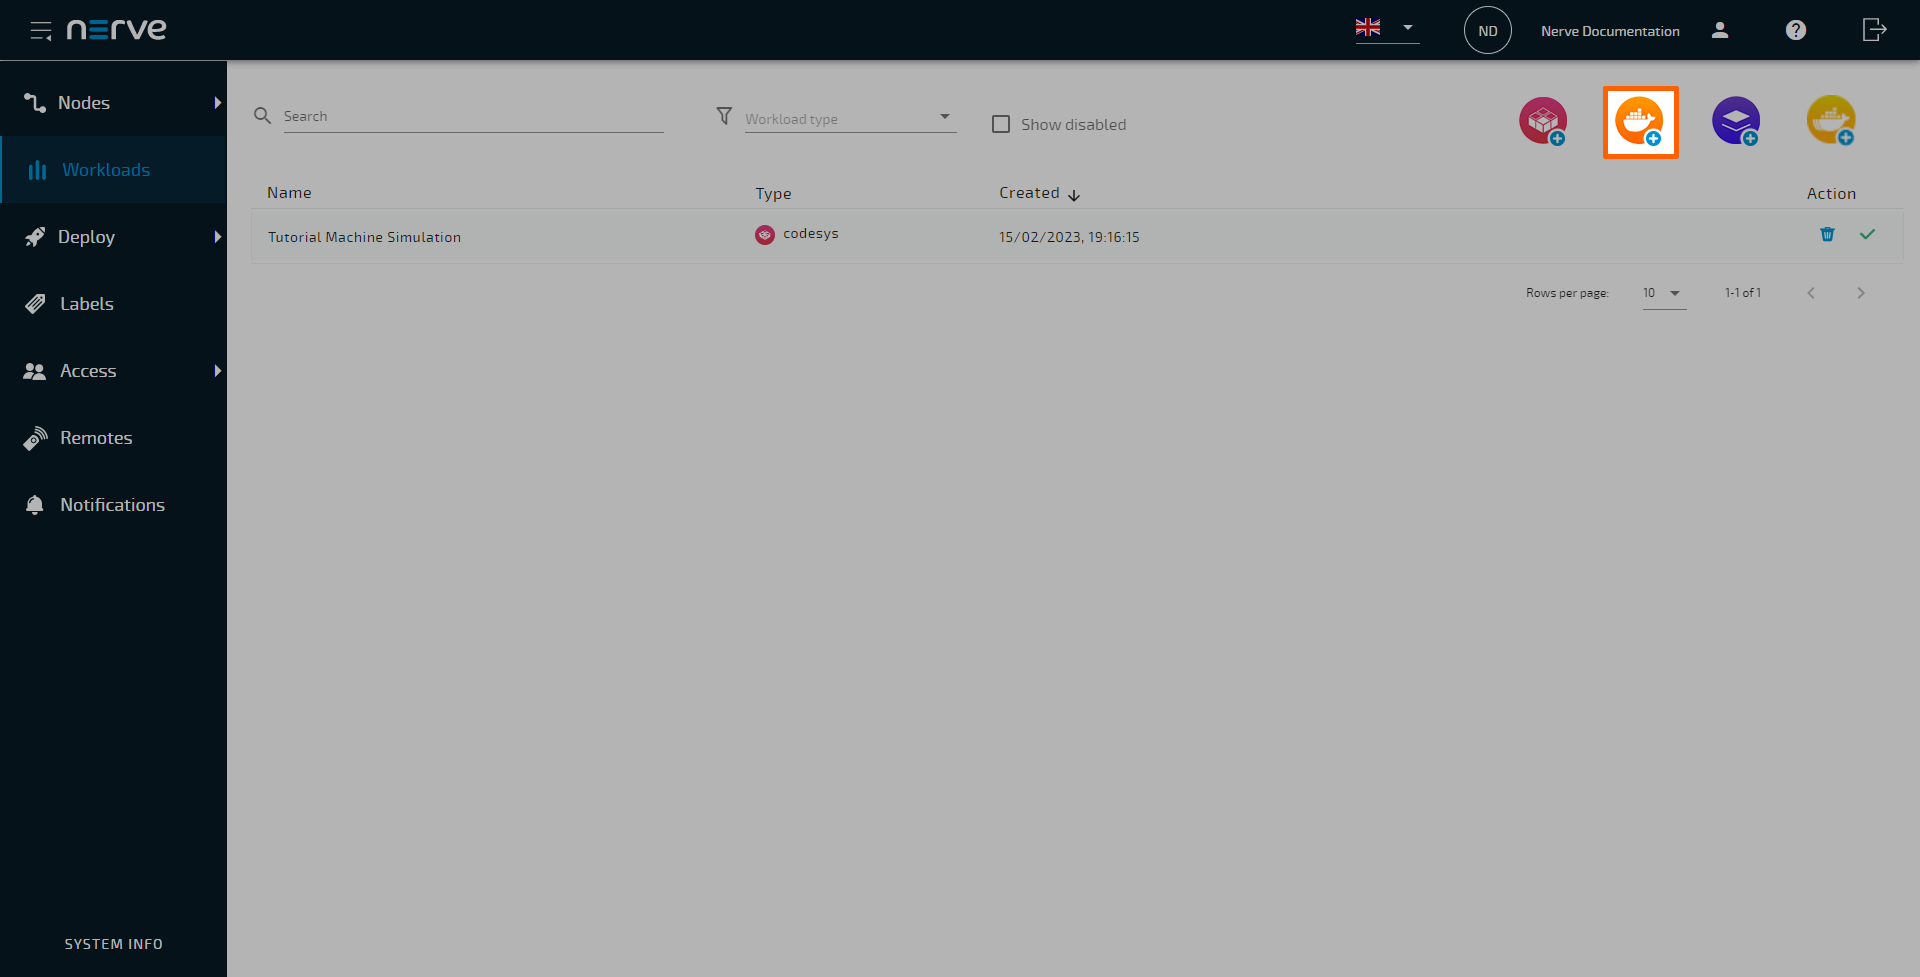
- Select Workloads in the navigation on the left.
-
Select the orange Docker symbol (Add new Docker workload) in the upper-right.
-
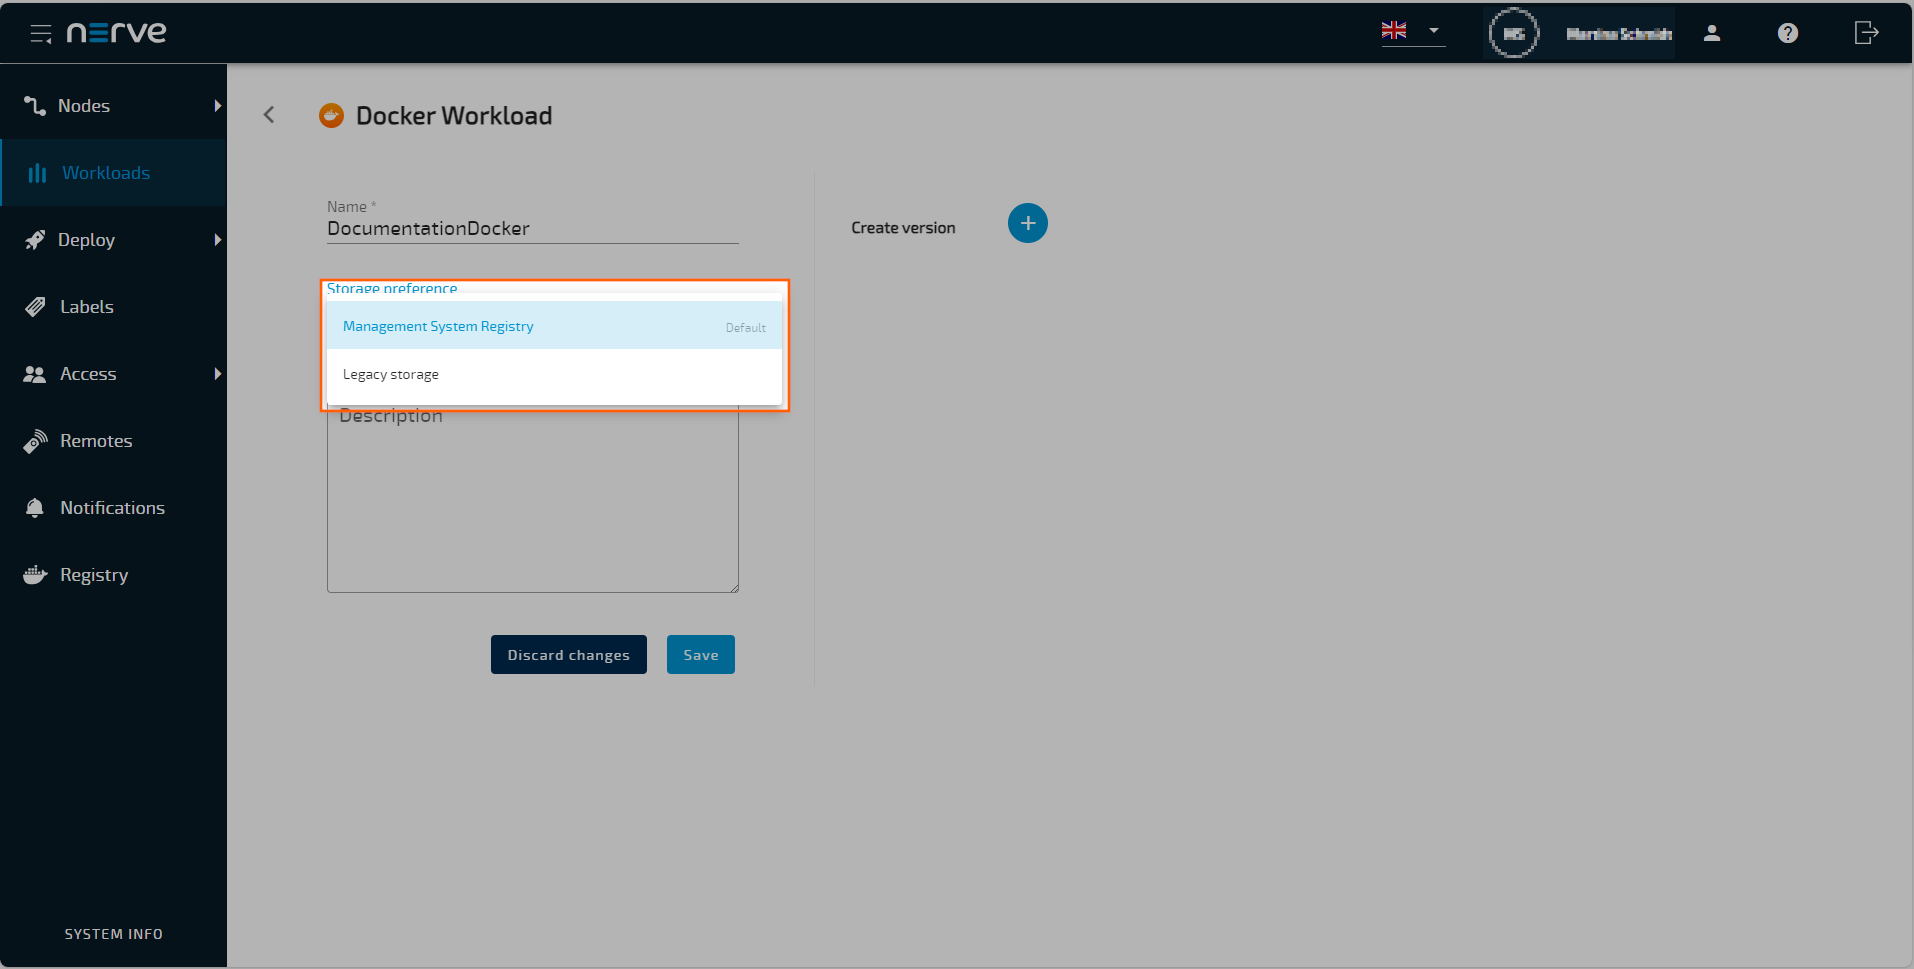
In the new window, enter a name for the Docker workload.
-
Select the Storage preference.
- Select Management System Registry if you want to use the Docker Registry of the Management System. This storage type supports image and layer management, offering greater flexibility and efficiency.
- Select Legacy storage if you want to use the image from the registry. In the legacy storage workload, data is bundled into one package, facilitating uniform management and delivery.
-
Select the plus icon
 next to Create version to add a new version of the workload.
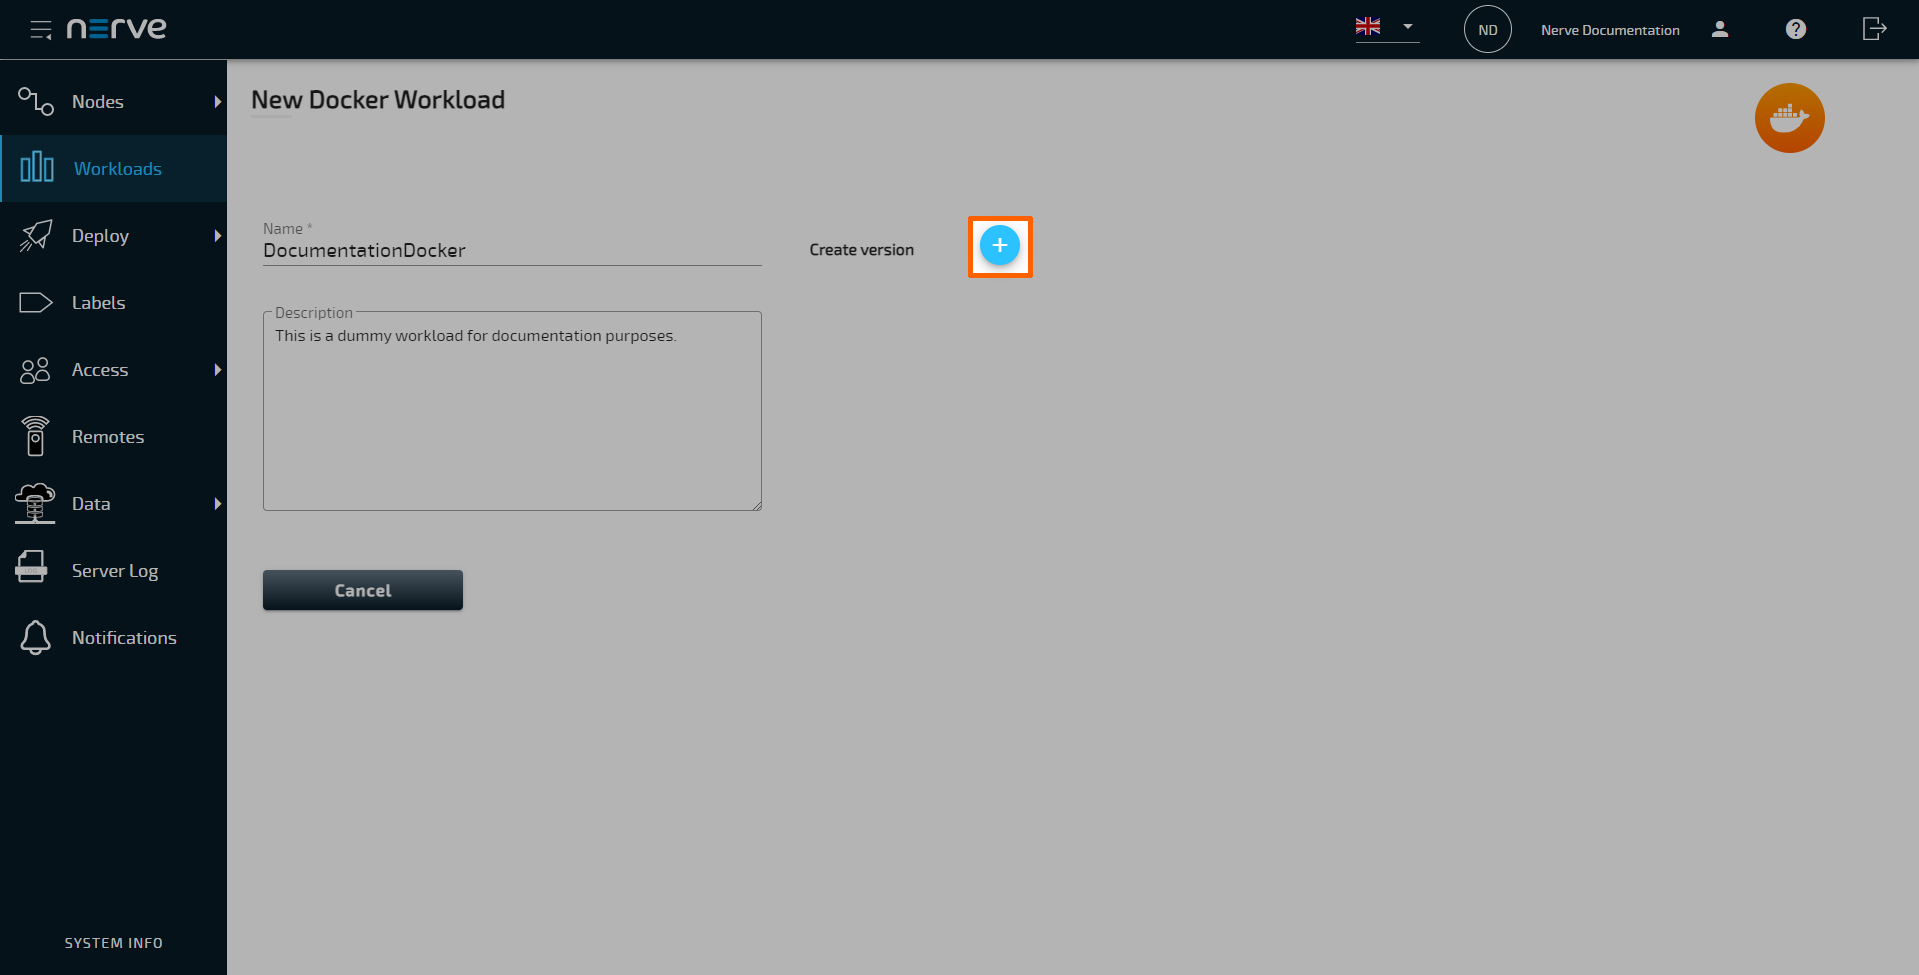
-
In the next window, enter the following information in the Basic tab:
Category Settings and descriptions VERSION SPECIFIC INFO Version name
Enter a name for the version of this workload.
Container name
Enter a name for the Docker container. This will be the name of the Docker container on the node.
Release name
Enter a Release name for the version of this workload.DOCKER IMAGE
Management System RegistryEnter the nameand thetagof the Docker container image from the Docker registry under Image path.
Note that the image path in the screenshot is a placeholder for the name and the tag.
Enter the name and the tag according to the image and its path you created e. g.MS-URL.nerve.cloud/registry/<name>:<tag>.
Refer to DNA hash and Docker registry, to learn more about tagging and DNA hash.
As you type in, a dropdown menu appears with the tags that can be found in the Docker registry.
Refer to the Docker image settings in the Basic tab below for more information.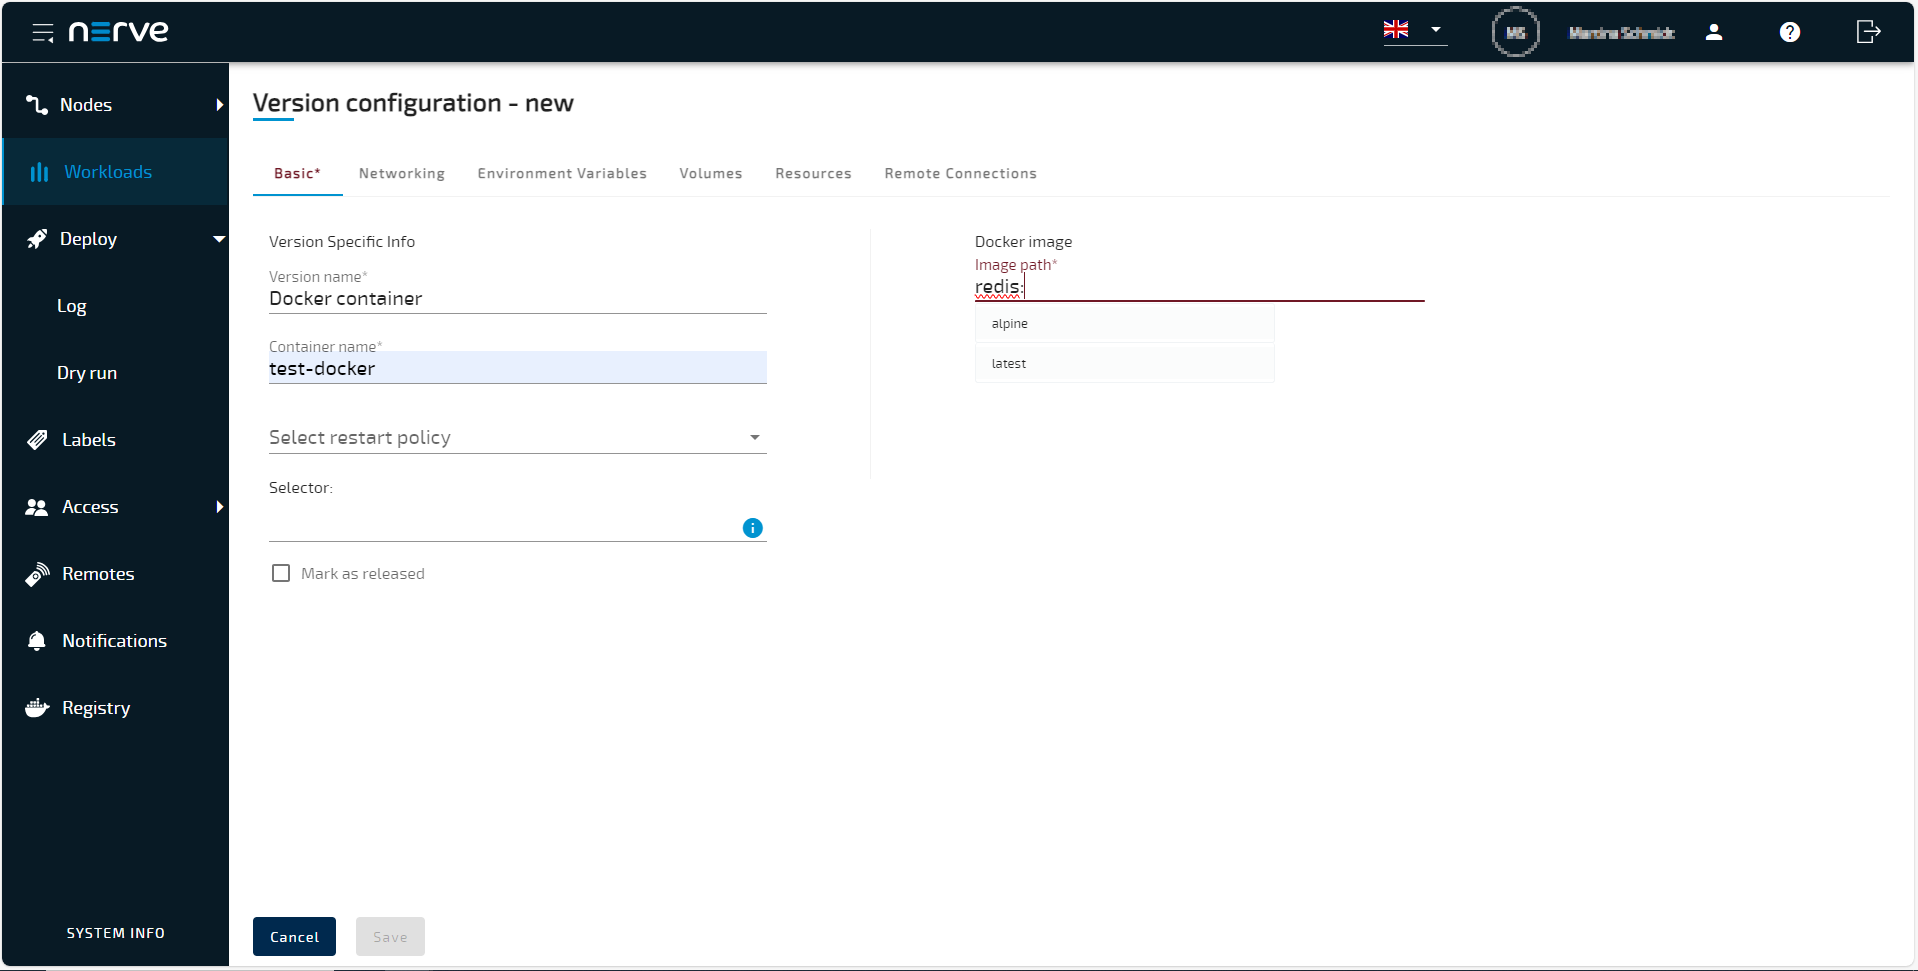
DOCKER IMAGE
Legacy storageSelect From registry or Upload. Note that Docker images in TAR.GZ format are not supported.
From registry:
Enter the Docker registry to the Docker container image under Image path.
Note that the image path in the screenshot is a placeholder path. Enter registries according to their name and URL found on Docker Hub or in private registries. Refer to the Docker image settings in the Basic tab below for more information.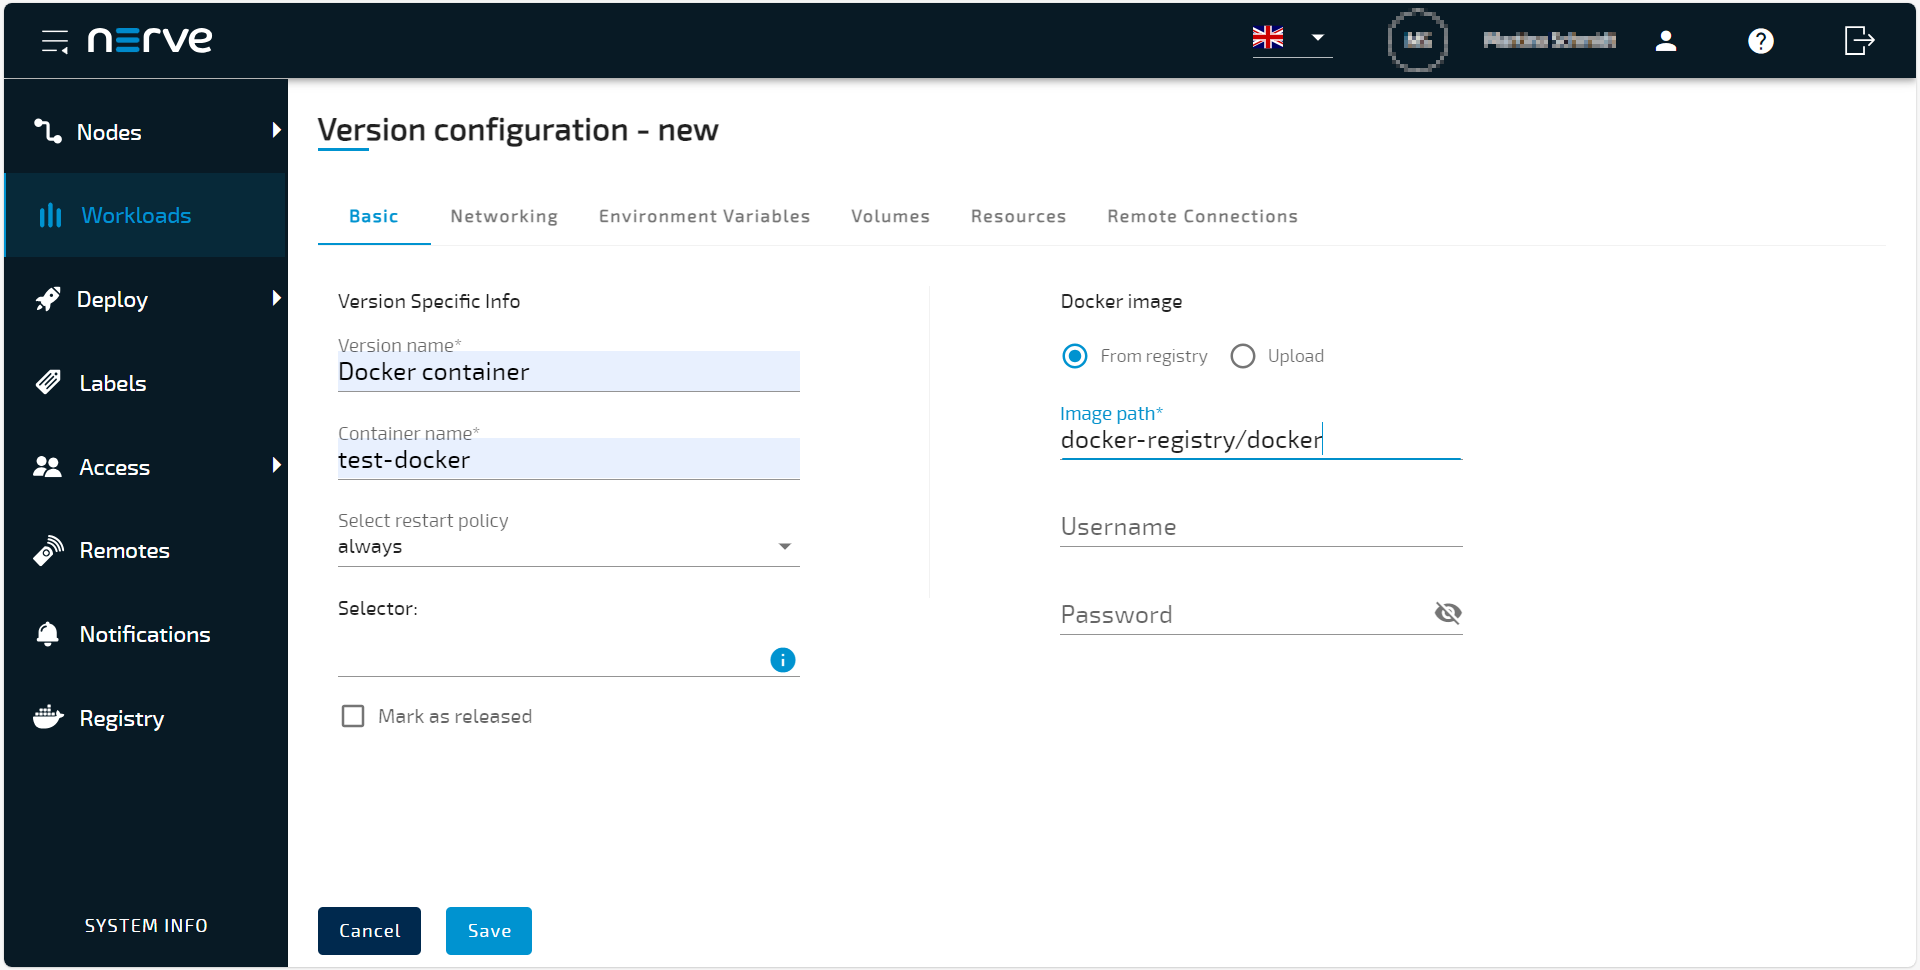
Upload:
Select the upload icon to open the file browser and upload the Docker container image. Do not upload a Docker image in TAR.GZ format. This will produce a Docker workload file in the wrong format when the workload is exported.
Note
While certain settings are not required to provision a Docker workload in the Management System, additional settings have to be filled in for the workload to perform as desired. Depending on the Docker container that will be deployed, ports need to be defined and, environment variables need to be configured. Keep this in mind and make sure to learn the details about the Docker container. Refer to the description of Docker workload settings below for more information.
-
Select Save in the lower-left corner to save the workload version.
The workload has now been provisioned and is ready to be deployed in the Deploy menu.
Note
You can save the Docker workload version even if the referenced version of the image does not already exist in the Management System Registry. Note that this Docker workload version is not deployable.
For more information on how to control the workload within the Nerve Management System after deployment and use workload specific features, refer to Workload control.
Settings for Docker workloads
In the instructions above, all optional settings have been left out. Below is an overview of all the options with an explanation to each option.
Basic tab
| Category | Settings and descriptions |
|---|---|
| VERSION SPECIFIC INFO | Version name A name for the workload version. This could be a reminder for a certain configuration. Example: Unlimited as a name for a Node-RED version that has unlimited access to CPU resources.Container name Enter a name for the Docker container. This will be the name of the Docker container on the node. Select restart policy Choose the container restart policy from the drop-down menu to determine when the Docker container can be restarted.
If labels have been defined and assigned to nodes, add them as selectors to the workload. When deploying a workload, the list of nodes will be filtered automatically to the specified label. Select the Insert label field to see a list of available labels. Enter labels in format key:value.Mark as released Tick this checkbox to mark this workload as released. Once marked as released, the workload cannot be edited anymore. |
| DOCKER IMAGE Management System Registry |
Enter the name and the tag of the Docker container image from the Docker registry under Image path <name>:<tag>. You only need to enter the <name> and <tag> of the image. There is no need to enter the full path to the image of the Docker registry. This ensures that only images with the storage preference set to DOCKER IMAGE are used from the Management System Docker Registry. |
| DOCKER IMAGE Legacy Storage |
Select between two options here and either use a Docker registry URL to link to an online repository or upload the Docker container image from the workstation. Note that Docker images in TAR.GZ format are not supported. From registry Specify a URL pointing to the Docker container image from the repository under Image path. Note the differences between public Docker Hub registries and private registries. Private registries require the full URL to be specified, as well as a username and password if they require authentication. Public Docker Hub registries can be specified in their short form. Visit Docker Hub to find Docker images and their paths. Examples:
Upload the Docker container image from the workstation. Obtain a Docker image for the upload by executing a command on the workstation where the Docker image for provisioning is located. Enter docker save <image_name> -o <filename>. Then in the Management System select the download icon <filename> Docker image. Also, do not upload Docker images in TAR.GZ format. This will produce a Docker workload file in the wrong format when the workload is exported. |
Networking tab
| Category | Settings and descriptions |
|---|---|
| DOCKER NETWORKS | Select the plus icon Note that the bridge network is automatically assigned. Repeat this process to add other network interfaces to the Docker container. 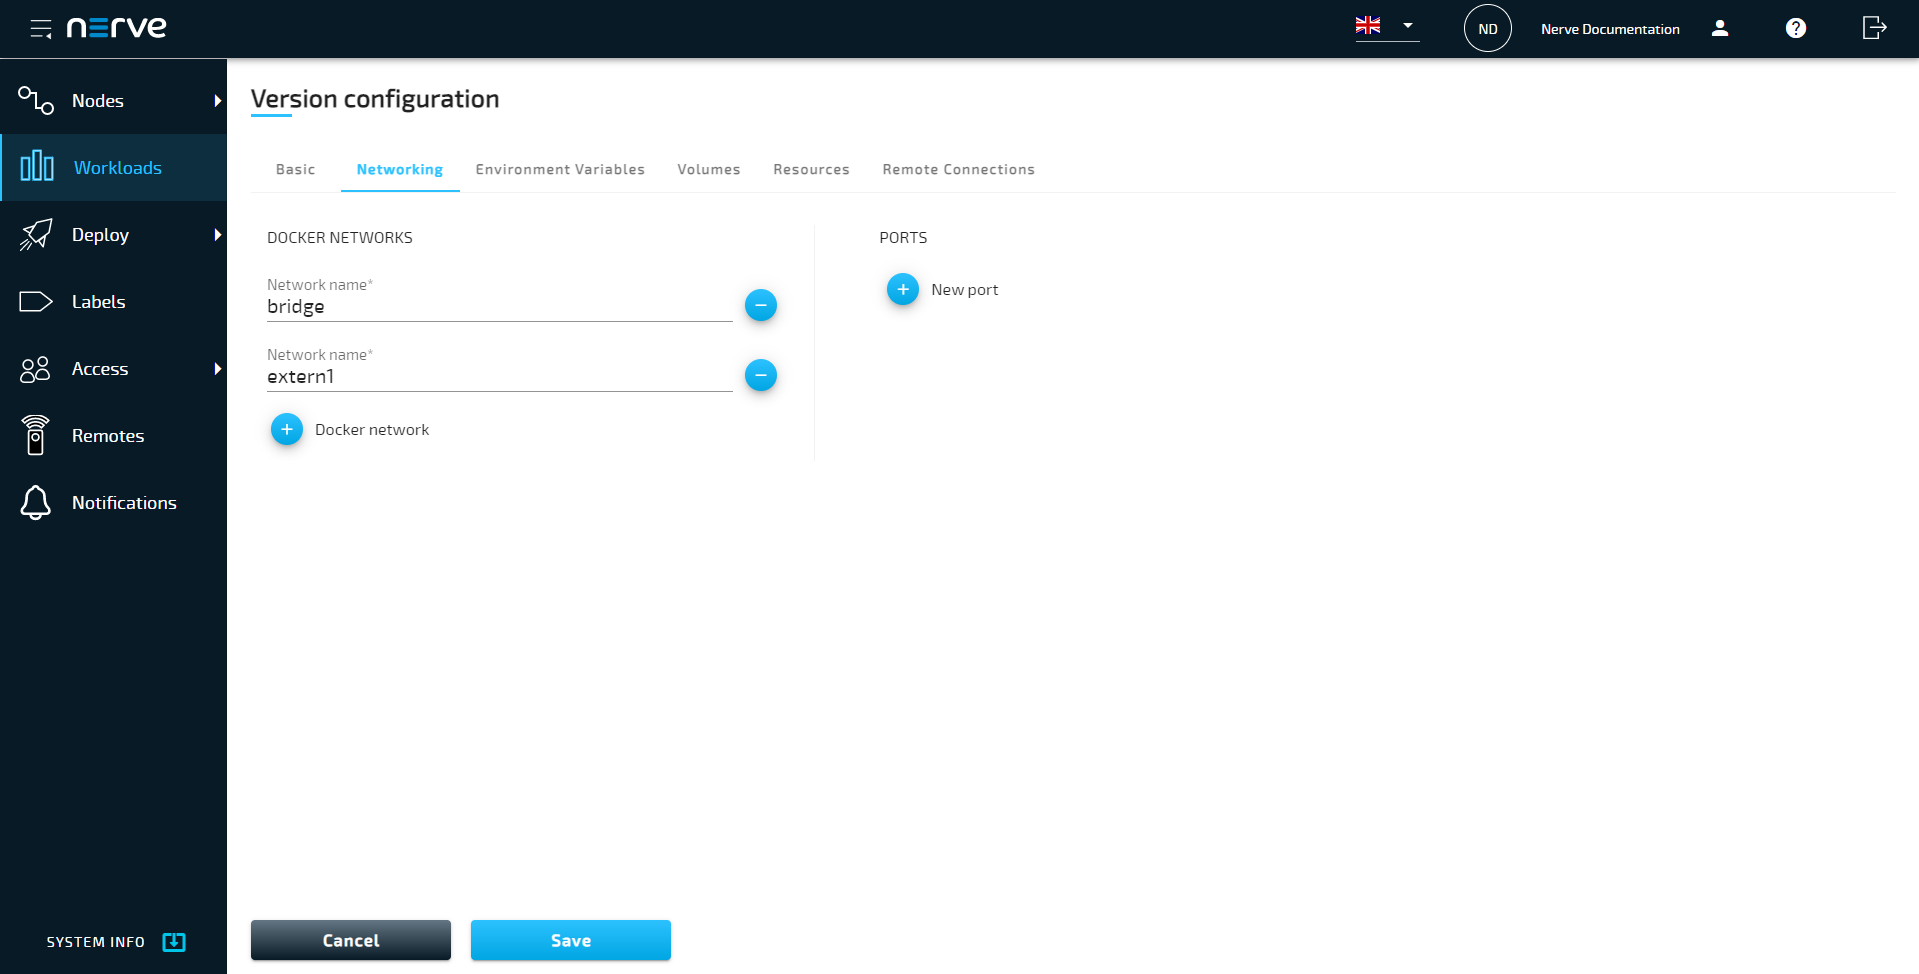 Note: IP addresses for network interfaces connected to physical interfaces are configured in the Local UI. If no network is defined, then the Docker workload can be reached through http://172.20.2.1:<hostport> for Nerve Devices having a physical interface associated with host access.For more information on node internal networking, refer to Node Internal Networking. |
| PORTS | Select the plus icon
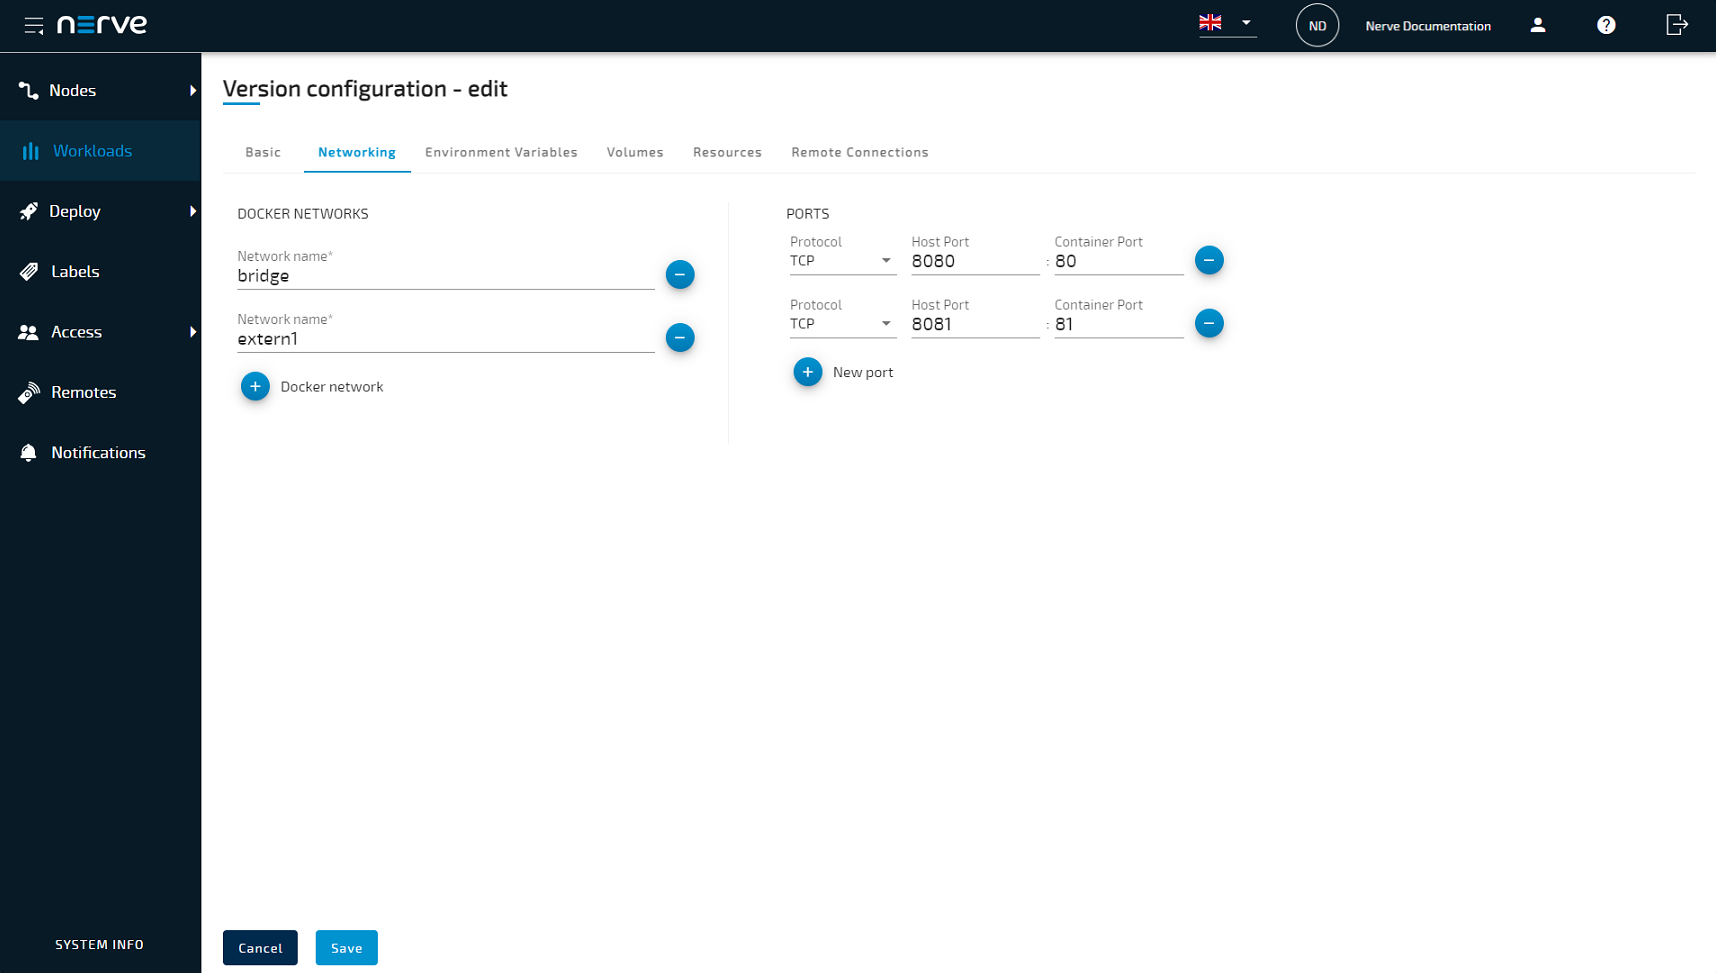 |
Note
In the case of multiple Docker Network definitions in the networking tab, the exposed ports map to the first network in the list of defined Network names.
Environment Variables tab
| Category | Settings and descriptions |
|---|---|
| ENVIRONMENT VARIABLE | Select the plus icon |
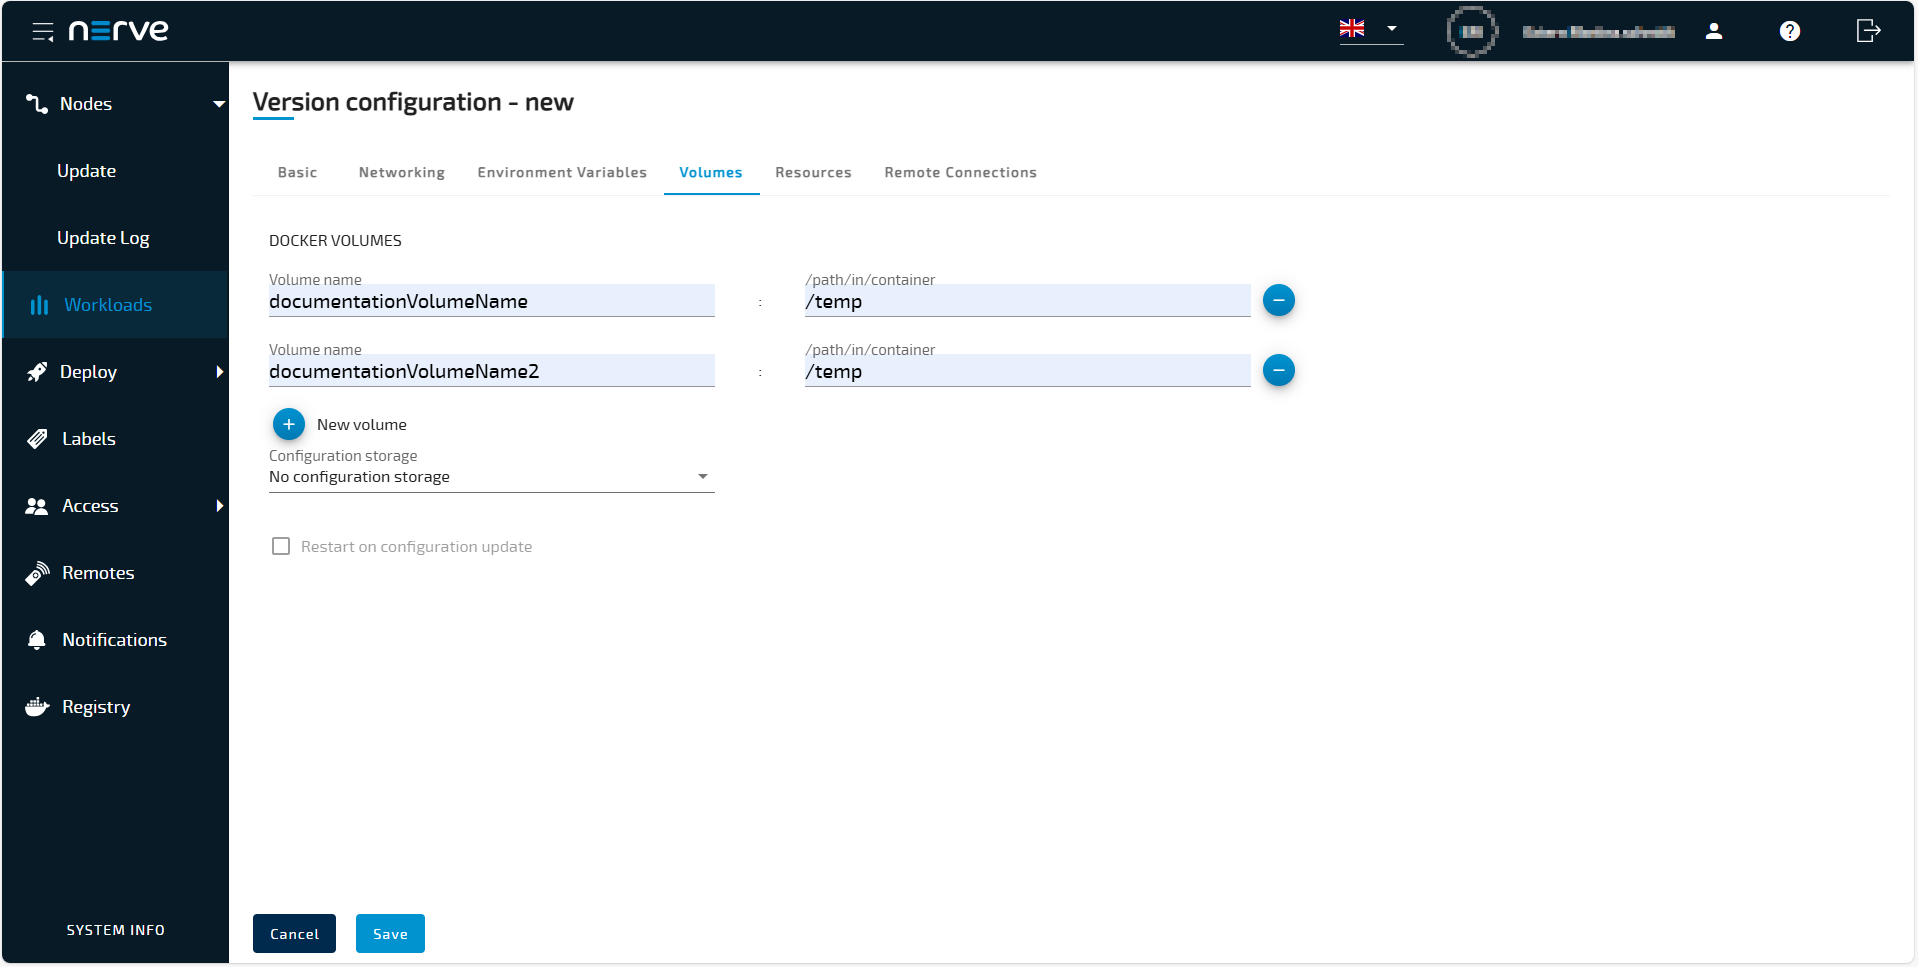
Volumes tab
| Category | Settings and descriptions |
|---|---|
| DOCKER VOLUMES | Select the plus icon
/opt/data/var/lib/docker/volumes by default.Configuration storage After defining one or more Docker volumes, a volume can be used as storage for configuration files. Select a Docker volume from the drop-down menu to designate a volume as configuration storage and enable the application of configuration files. Refer to Applying configuration files to a workload for more information. Restart on configuration update Tick this checkbox to trigger an automatic restart of the Docker workload when configuration files are applied. Select the minus icon |
Resources tab
| Category | Settings and descriptions |
|---|---|
| RESOURCES | Limit memory to Assign how much system memory this workload is allowed to use. The memory assigned here is an upper limit that the Docker workload can use and is not exclusively reserved for the Docker workload. Other processes can use these resources as well. CPU resource in percentage Specify here the percentage of CPU resources the workload is allowed to use. If this field is left blank, the workload is allowed to use all available resources. Note that percentages are used in a specific way with 100% representing one CPU core. So in order to use two and a half CPU cores, enter 250. |
Remote connections tab
| Category | Settings and descriptions |
|---|---|
| REMOTE CONNECTIONS | Select the Remote connections tab to configure a remote connection to the workload. Make sure to configure the workload first so that a remote connection can be established. Refer to Remote connections for more information and instructions for all remote connection types. |