Nerve Node as a Virtual Machine
This chapter describes how to install and run the Nerve Node as a virtual machine using VMware Workstation Pro. The Nerve VM image is provided as a VMware-compatible format. VMware Workstation Pro is freely available for commercial use and provides a reliable platform for running Nerve in virtualized environments.
To proceed, download the Nerve VM Image for VMware Workstation Pro from the Nerve Software Center. If the VM image is not available, contact TTTech Industrial customer support through the TTTech Industrial support portal.
VM Image Files
The Nerve Node VM image download includes three files:
| File | Purpose |
|---|---|
| nerve-node-installer- |
VMware virtual machine configuration file. This file defines the VM settings and is used to open the VM in VMware Workstation Pro. |
| nerve-node-installer- |
Virtual disk containing the Nerve installer. This is the primary disk image for the VM. |
| nerve-destination-disk.vmdk | Virtual disk that serves as the installation target for Nerve. |
System Requirements
The downloaded Nerve VM image is pre-configured with resource settings that represent the recommended minimum for smooth operation. If needed, you can adjust resources, but you should not go below the following values that represent the bare minimum requirements:
| Resource | Value |
|---|---|
| Memory | 4 GB |
| Processors | 2 cores (3 for Codesys support) |
| Hard disk (SATA) | 2 GB |
| Hard disk (SCSI) | 16 GB |
| Network adapter | NAT (a different type can be chosen according to the use-case scenario) |
Quick Start
- Download the Nerve VM image from the Nerve Software Center. If you do not see a suitable image, contact TTTech Industrial customer support through the TTTech Industrial support portal.
- Extract the downloaded files to a location on your computer.
- Open the VM in VMware Workstation Pro:
- Open VMware Workstation Pro and browse to the
.vmxfile using File > Open, or select "Open a Virtual Machine".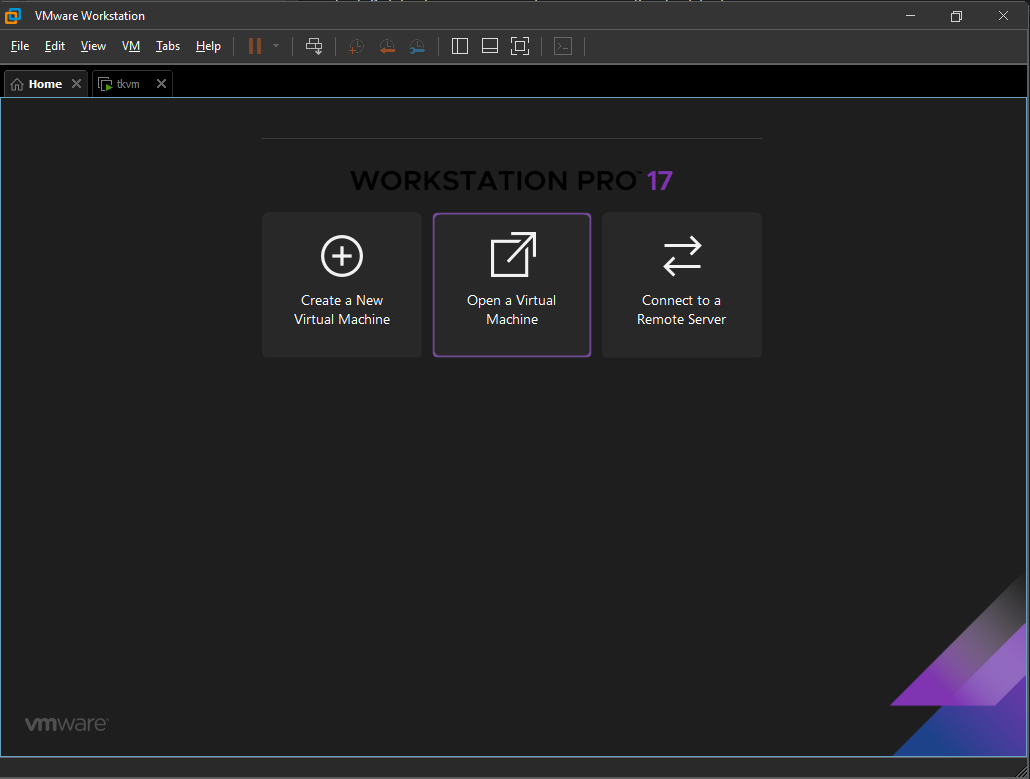
- The virtual machine is opened on a new tab in VMWare, click "Power on this virtual machine" in the left-side menu.

- The virtual machine is started, the installation of nerve begins.
- Open VMware Workstation Pro and browse to the
- Follow the installation process:
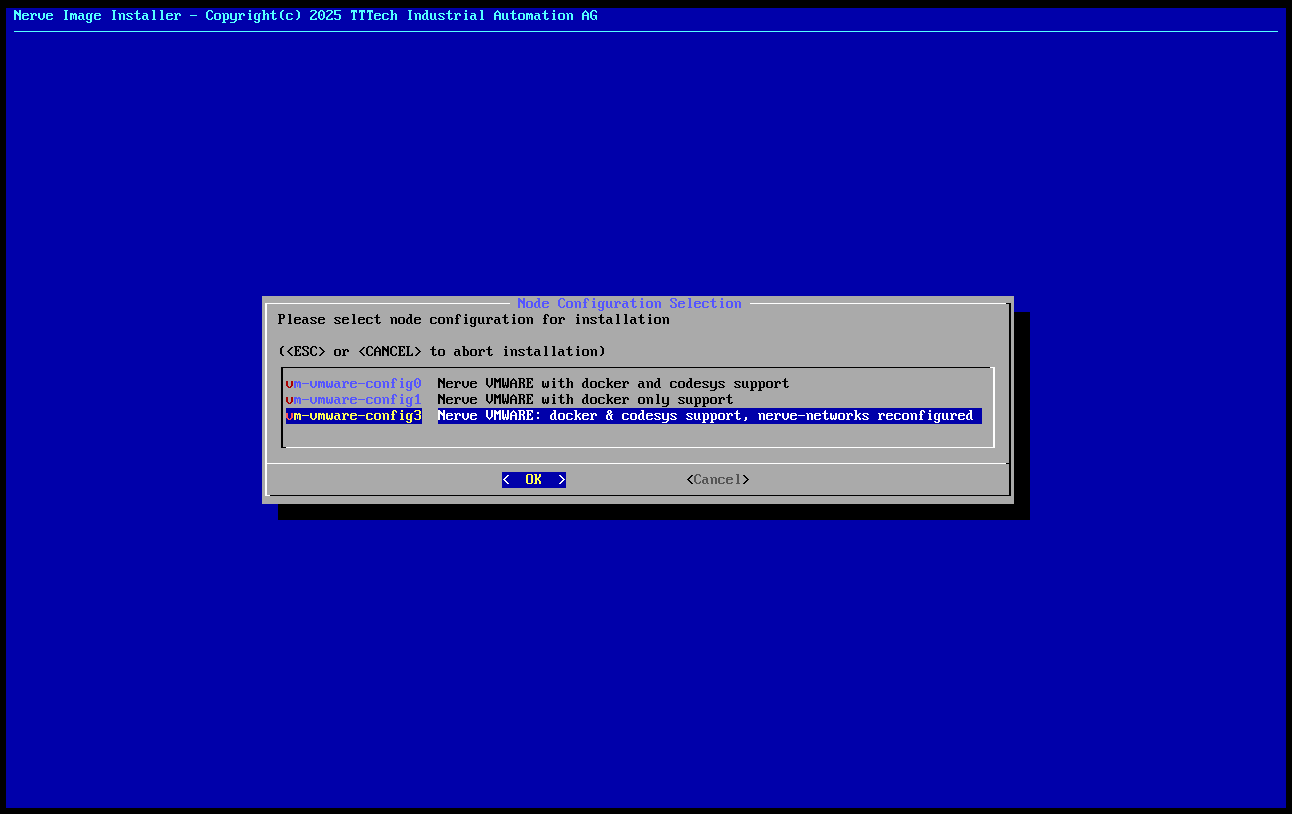
- The installer will start and prompt you to select a node configuration for installation. Choose the appropriate configuration.
- Wait for the installer to complete the initial installation phase.
- When prompted, press Enter to restart the VM. The prompt may instruct you to remove a USB stick—you can ignore this message as the installation runs from a virtual drive.
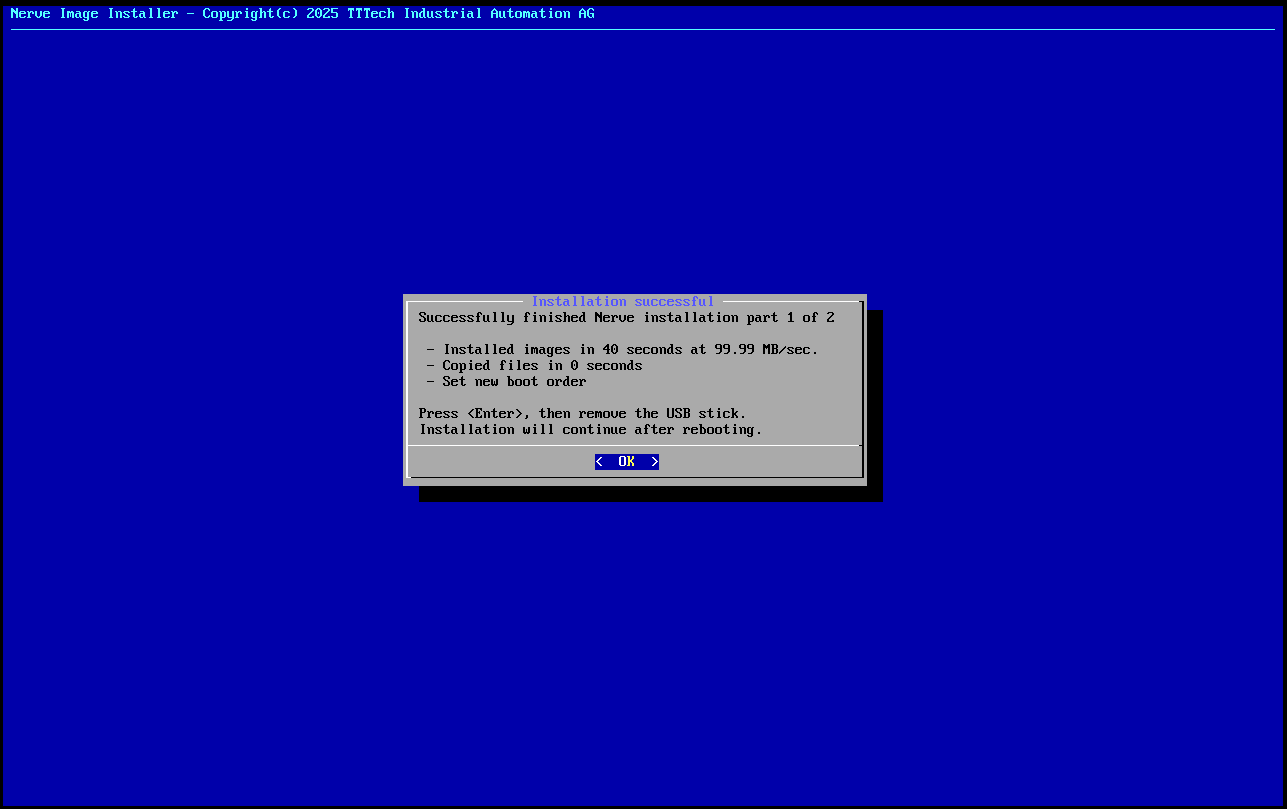
- The VM will restart automatically and continue the installation without requiring further user interaction.
- Once the installation is complete, the VM will display a prompt for host access login credentials, indicating that Nerve has started successfully.
- The installer will start and prompt you to select a node configuration for installation. Choose the appropriate configuration.
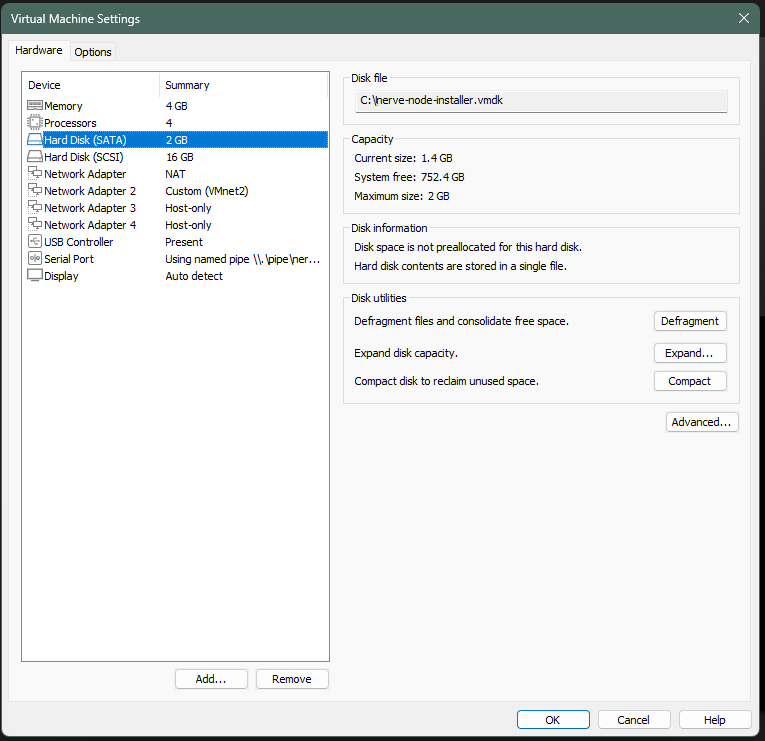
- After successful installation, the virtual disk containing the Nerve installer can be removed from the VM configuration.
- On the left-side menu, click on Edit virtual machine settings
- Select Hard Disk (SATA) from the device list, then click Remove
Note
- If the installation process requires a reboot, follow the on-screen instructions.
- In case of installation errors, restart the VM and repeat the installation process.