Enabling access management with LDAP in the Management System
The Nerve Management System allows the import of users and roles for access management through its LDAP integration. Data is synchronized with an LDAP server and the authentication of users is done against this LDAP server instead of the Management System itself. The user authentication provided is LDAP Simple Authentication (username and password) with the option to enable SSL/TLS for a secure connection between the LDAP server and the Management System.
An existing LDAP server is required to enable active directory access management. The configuration of the LDAP synchronization in the Management System requires expert knowledge. It is recommended that the configuration is performed by an LDAP admin.
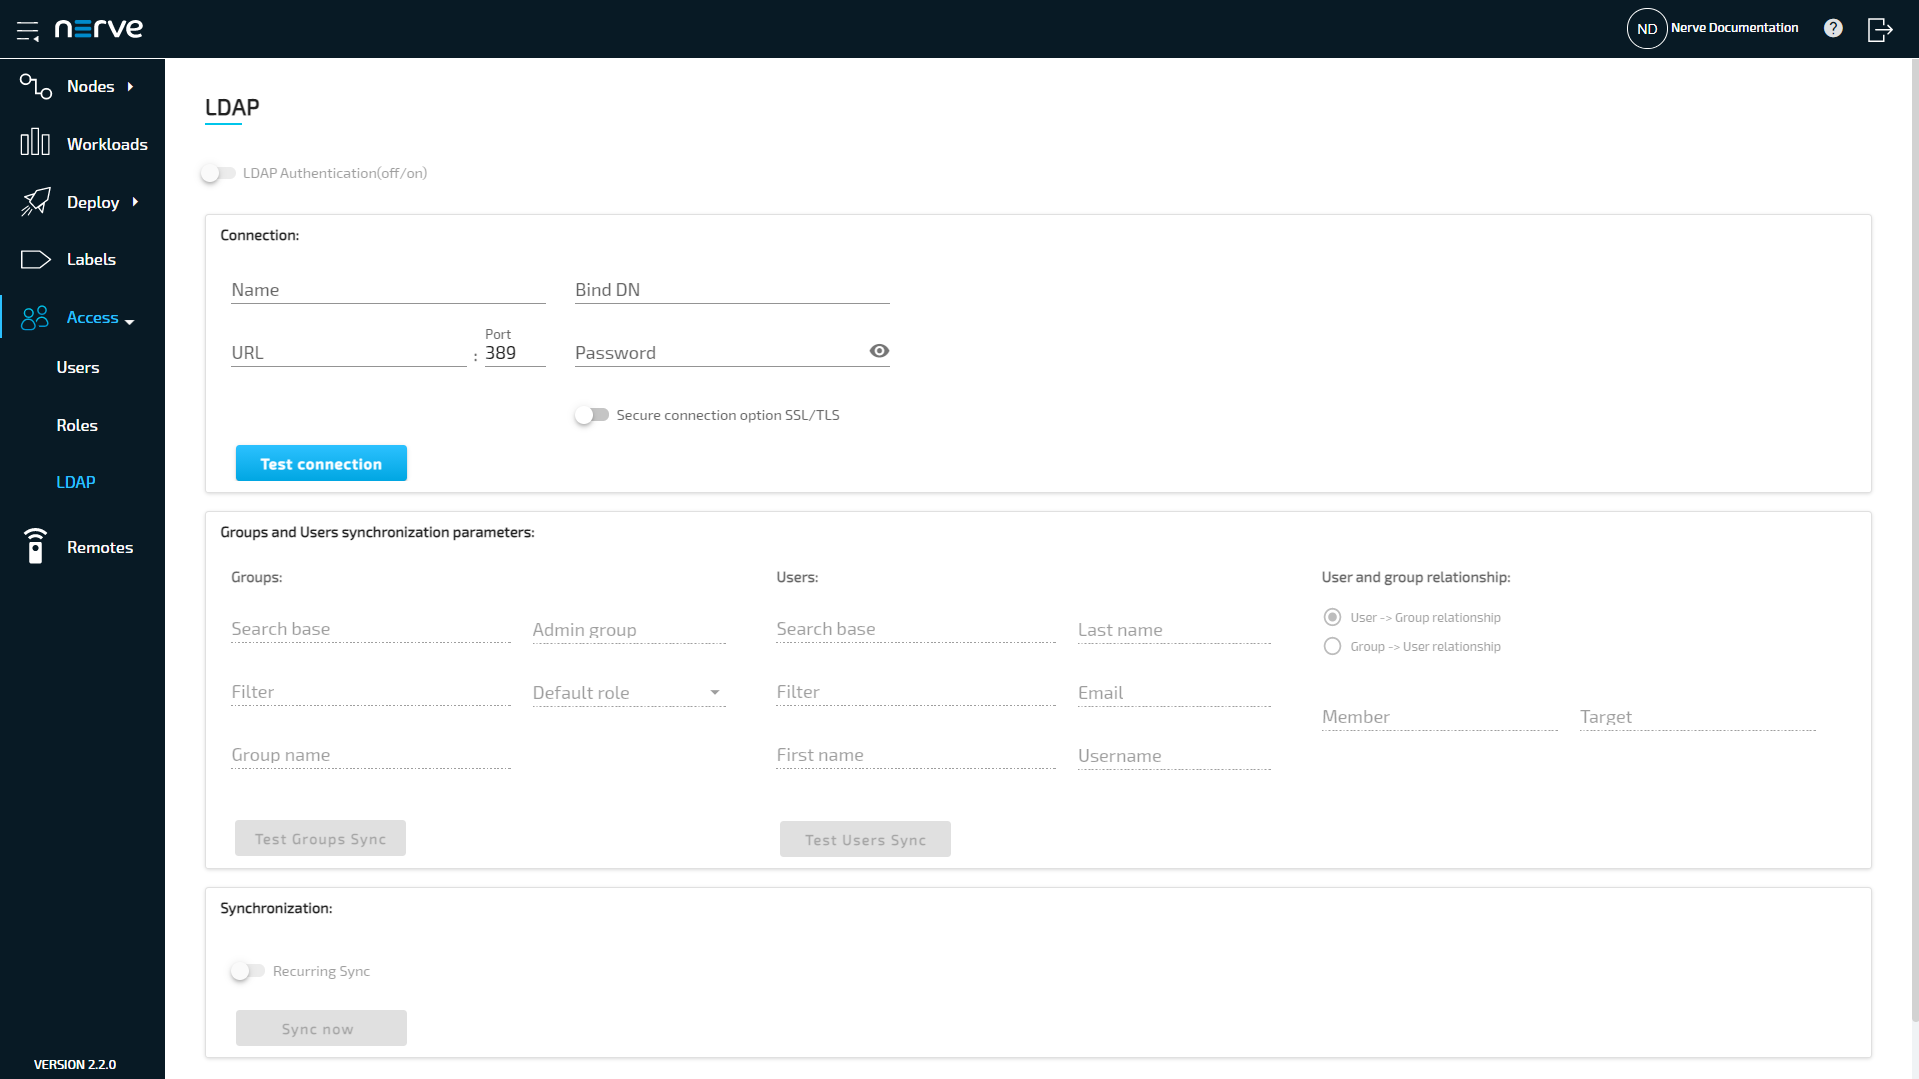
Expand Access > LDAP to reach the LDAP configuration. It is separated into three sections.
| Item | Description |
|---|---|
| LDAP Authentication(off/on) | Toggle this to activate or deactivate access management with LDAP once the configuration on this page has been completed. |
| Connection: | This section contains the required parameters to connect to an LDAP server. Name This is a user defined name for the configuration. Enter any name that accurately describes the connection. URL This can be either an IP address or the hostname of the LDAP server. Port Enter the port used for the LDAP service. Note that the standard port 389 is automatically filled in. Also, port 636 is automatically filled in if Secure connection option SSL/TLS is activated. Bind DN Enter the user in LDAP that is used for establishing the connection. This is either a user that is used for external connections or an admin user. The user needs to be entered in the form of a distinguished name. Password Enter the password of the Bind DN user. Secure connection option SSL/TLS Toggle to enable a secure connection here. The secure connection is implicitly accepted and certificates are exchanged by enabling this option. The standard port 636 for secure connections over SSL/TLS is filled in automatically in the Port field. Test connection This button is only available after the required fields have been filled in. Once clicked, a green check mark signifies a successful connection while a red cross signifies an unsuccessful connection attempt. |
| Groups and Users synchronization parameters: | Specify the required parameters for users and groups synchronization here. The options are grayed out by default. Once a connection to an LDAP server has been tested successfully, marked by a green check mark, the options will become available. Two query buttons are available here to test each configuration. Groups:
|
| Synchronization: | Recurring sync Activate Recurring sync to set an exact time or interval for recurring synchronization between the Management System and the LDAP server. This can be done in two ways:
Select Sync now to perform an actual synchronization of users and groups. A result message is shown in the upper right corner at the end of the synchronization process. |
Note
The configuration above is dependent on the LDAP server configuration. Consult the LDAP admin when configuring the LDAP integration in the Management System.
Recommended workflow
As there are many fields and buttons that serve different purposes, consult the summarized workflow below for a quick overview.
- Enter the required information in the Connection fields.
- Select Test connection. If a green check mark appears, the connection was successful.
- Fill in the Groups parameters under Groups and Users synchronization parameters.
- Select Test Groups Sync. A pop-up window will appear.
- Check the preview list of groups that will be synchronized.
- Fill in the Users parameters under Groups and Users synchronization parameters.
- Select Test Users Sync. A pop-up window will appear.
- Check the preview list of users that will be synchronized.
- Select Sync now to apply the configuration.
- Optional: Toggle LDAP synchronization(off/on) at the top.
- Select Save at the bottom to save the configuration.
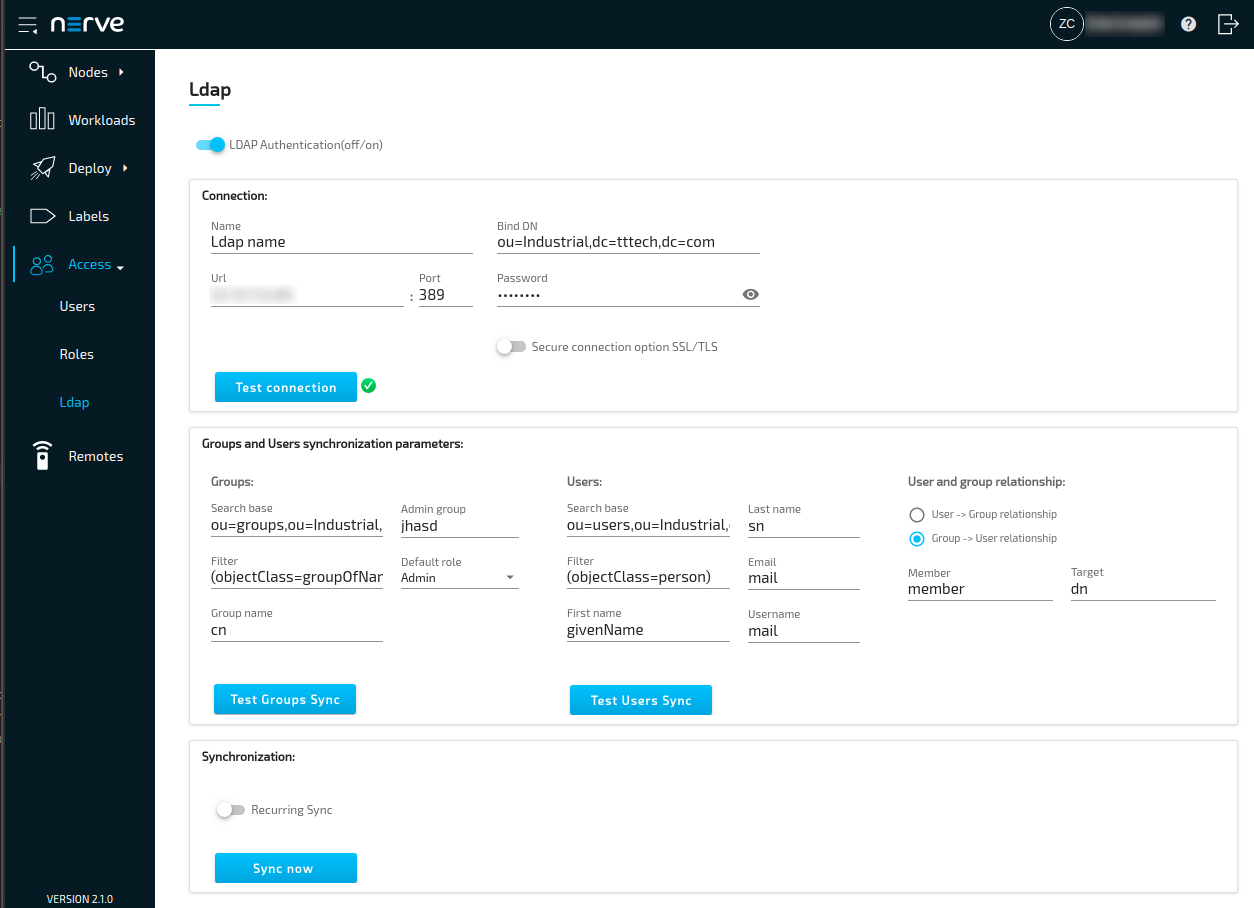
Toggling the LDAP synchronization(off/on) switch is marked as optional here, as it can also be toggled at a later time. Save the configuration and toggle the switch to use the LDAP integration when desired. Below is an example configuration:
Differences in user and role management when LDAP authentication is activate
When LDAP authentication is active, editing of users and roles is disabled or limited. The differences are:
- The LDAP username is used for authentication instead of the email address.
- Passwords cannot be changed or reset.
- New users cannot be added.
- Existing users, LDAP or local, cannot be edited or deleted.
- Profile pictures cannot be set.
- Names and descriptions of roles cannot be edited.
- Permissions of roles can be edited.
- Roles coming from LDAP synchronization cannot be deleted.
All changes to users are taken over from the LDAP server after a synchronization is performed. Once LDAP synchronization is deactivated, local users can be edited again. LDAP users, however, still cannot be edited. Note that LDAP users stay in the list of users even when LDAP synchronization is deactivated. However, the users and roles lists can be filtered by local or LDAP. Refer to Users and Roles and permissions for more information on local user and role management in the Management System.